The last time I wrote about our STEAM Centers was the end of the 2016-2017 school year! I meant to post an update from the 2017-2018 school year and it just never happened! STEAM centers have become a favorite of my students, and we are all looking forward to beginning year 3 in just a couple of weeks!
A few things I’ve learned along the way: 1. Technology is more than screens! We definitely use iPads and chromebooks frequently during centers but I try to find a balance between centers that require screens and centers that don’t. 2. All centers should involve hands on learning and problem solving! 3. Involve different forms of art as often as possible! (Our school doesn’t have an art teacher so I try to incorporate art in at least one center for each grade level.) 4. Children learn through play! Allow them the freedom to explore on their own and work together to construct new learning with their classmates. Be there to support each center but don’t tell them what to do! 5. Model what you want to SEE and HEAR in each center. During the introduction week, we always discuss what I should see and hear as I walk by your center. For example: *No one should be being bossy! Teamwork makes the dream work! *I shouldn't hear "I can't". I should hear "I'll try". Remind them that failure is OK! Just try again! *I shouldn't hear "You are wrong." I should hear "What if you try it this way?". I made some adjustments to how we did centers and the centers that we did for year 2. I discontinued a few that I didn't feel worked well and added a few as we purchased new items. I also increased the amount of time we spent in centers from 4 weeks to 8...and really I let them convince me to extend it an extra week or so to complete some of the centers. :) This year, for Year 3, I plan to take it back to 6 weeks (6 centers) and do smaller groups. The past 2 years I have done a rotation of 4 centers for 4 weeks and had groups of 5-6 students. Some of the centers are harder to do with larger groups or we don't have quite enough materials to go around. I'm hoping smaller groups will help! OSMO
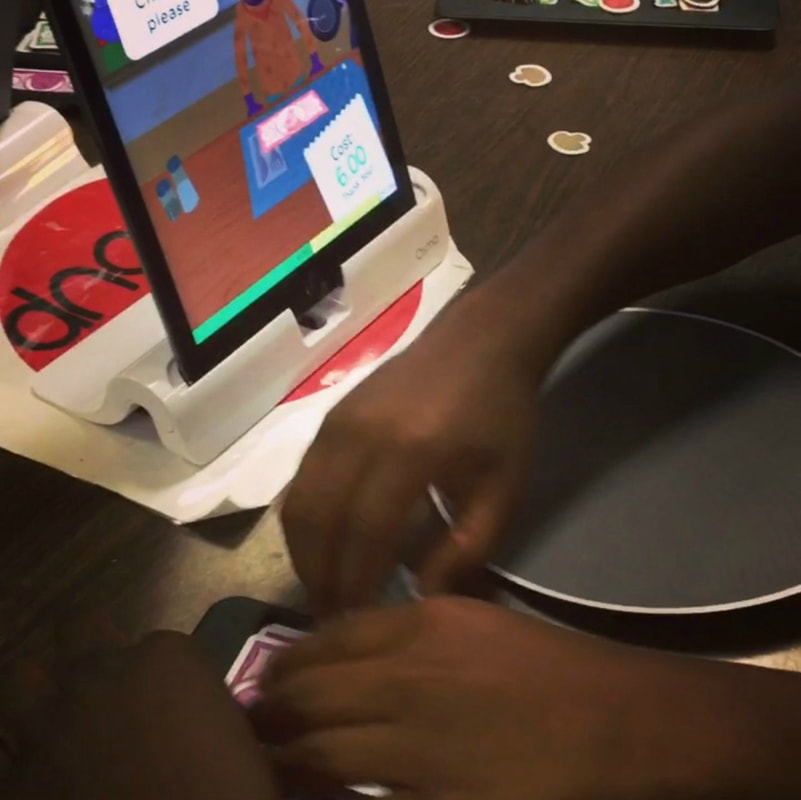
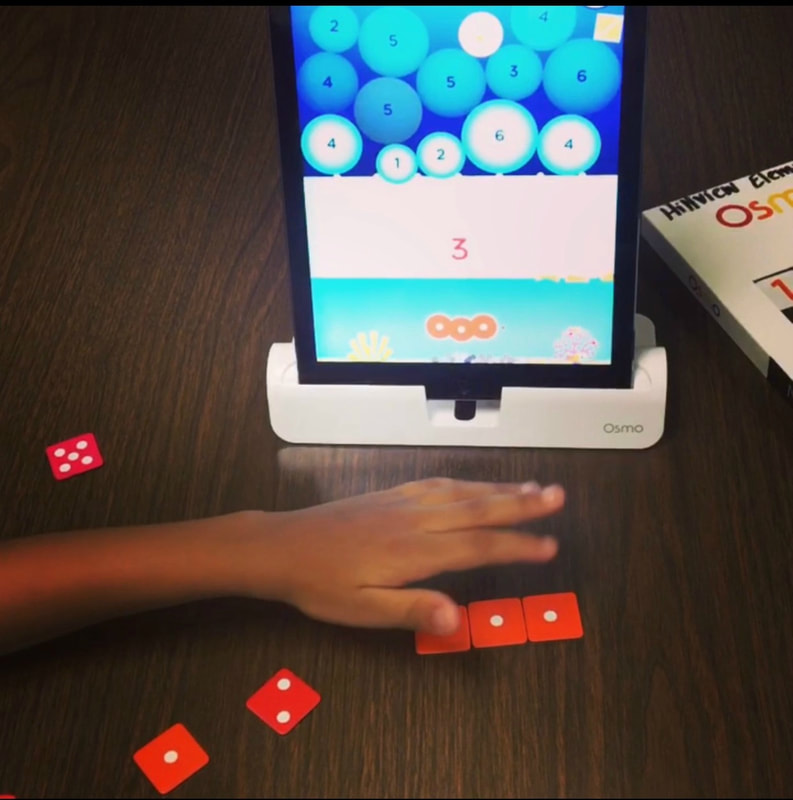
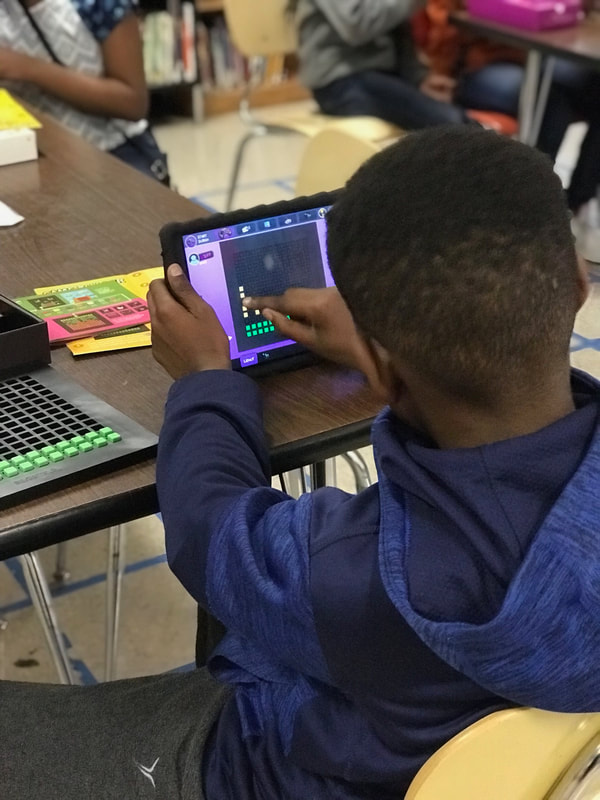
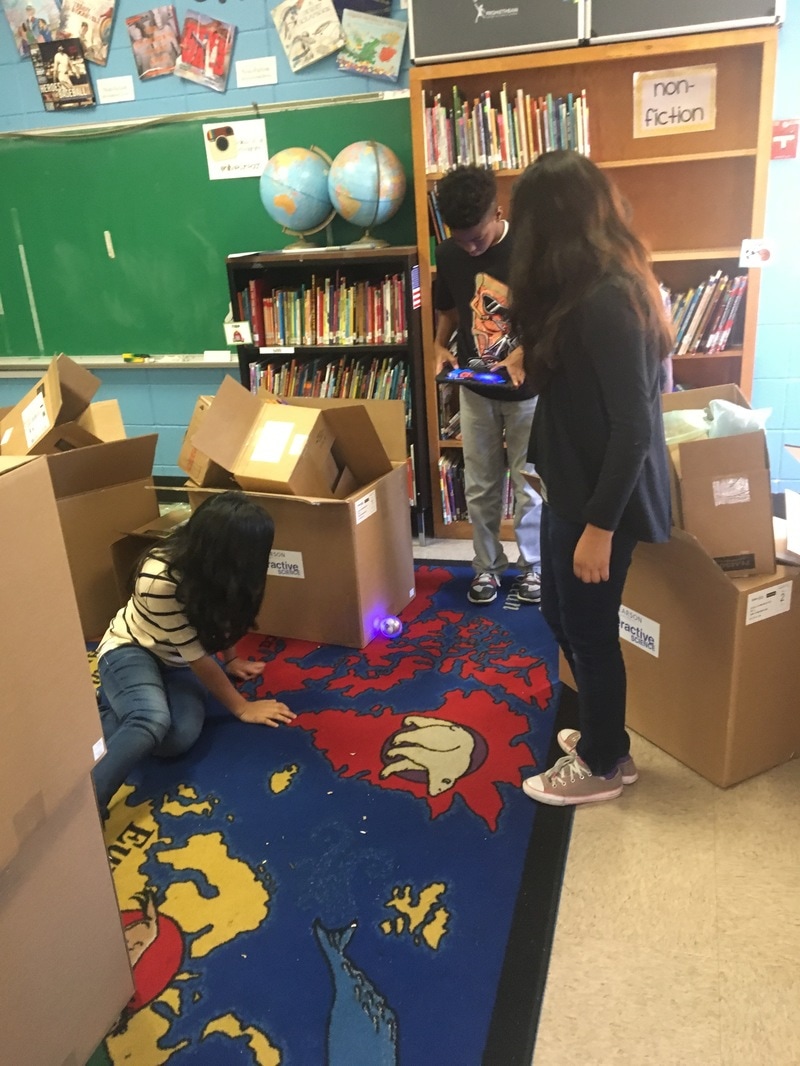
This was one of our favorite additions! I'll be honest...I had seen the OSMO advertised and wasn't really impressed. Our PTA bought a couple for us so I decided to try them out in centers. I completely changed my mind about them after seeing them in action! I love that there are activities for all ages and across various subject areas. My kindergartners all the way through my fifth graders loved using the OSMO. For my littles, we did the numbers and letters activities that came with the Genius Kit. My 2nd - 5th graders did coding activities, Masterpiece (art) and the Pizza Co. game (they thought they were playing a game but really they were working on making change with dollars and coins!). I have purchased several more bases and have several new games ordered as well for this year!
Storytime STEAM
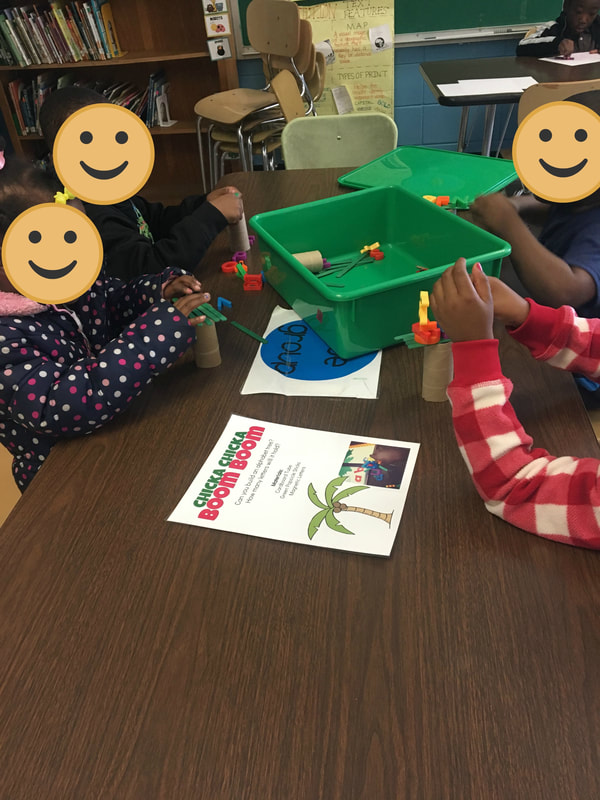
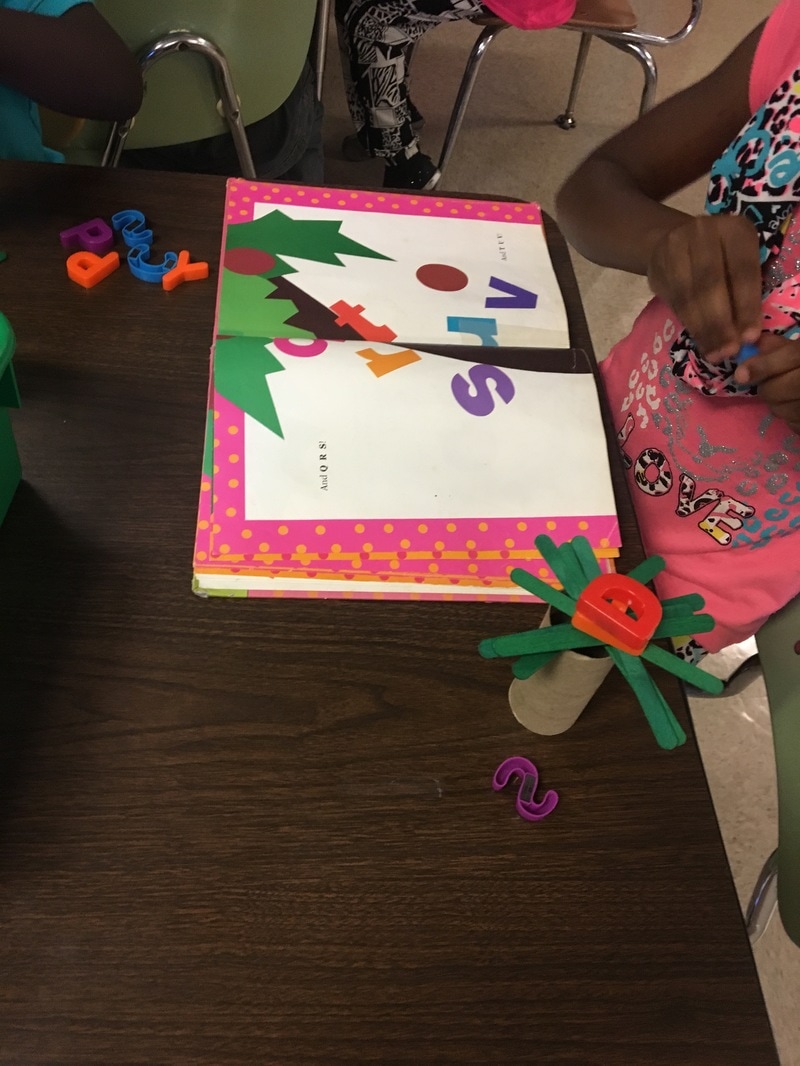
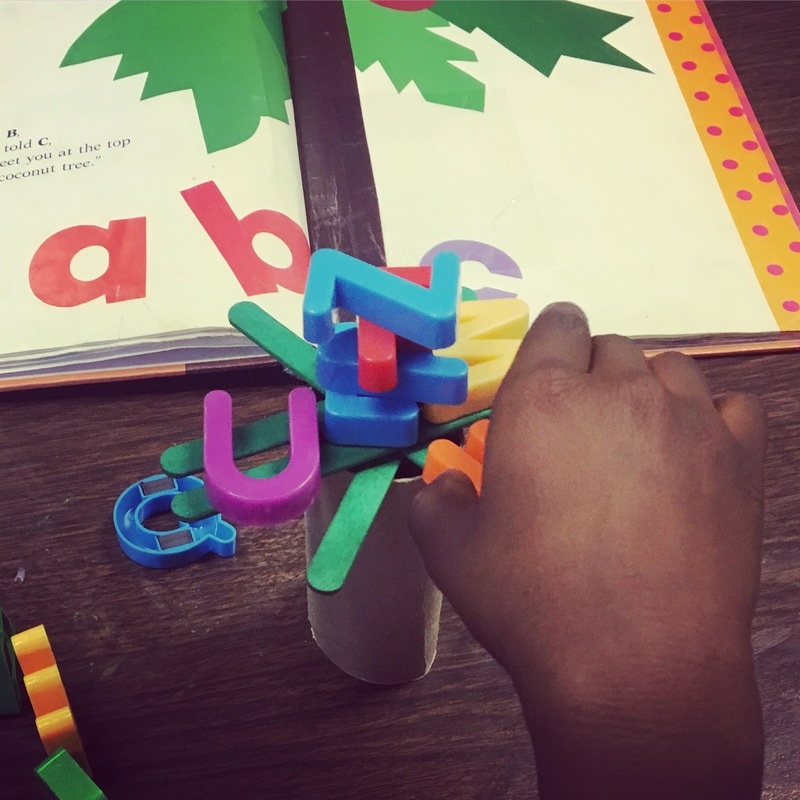
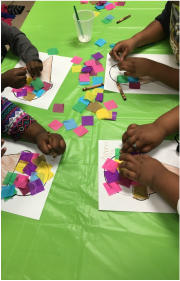
I found the ideas for these STEAM activities on Pinterest and tweaked them a little to fit what we needed. I included library books in the tubs with each activity as well. I guess for these I should add the R(reading) in for STREAM. These are a great introduction to engineering challenges for kindergartners! These activities are a part of myK-2 STEAM Centers on TeachersPayTeachers!
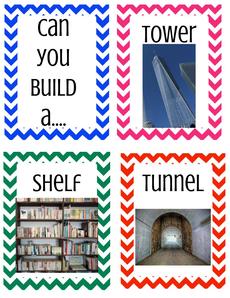
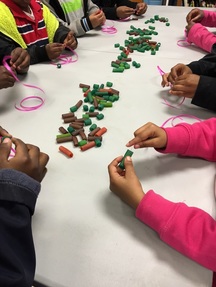
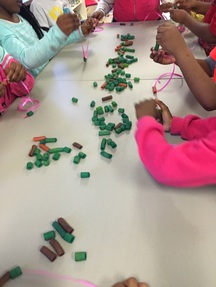
Building Challenge Cards
Building Challenge Cards encourage thinking critically, creatively, and working together as a team. I have a variety of cards that can be used for various age groups. We use Legos, wooden blocks, Zoob builders, Playstix, and Geostix for these activities. Click on the images below to download the challenge cards.
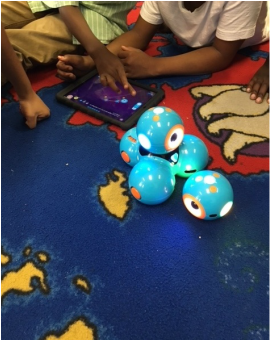
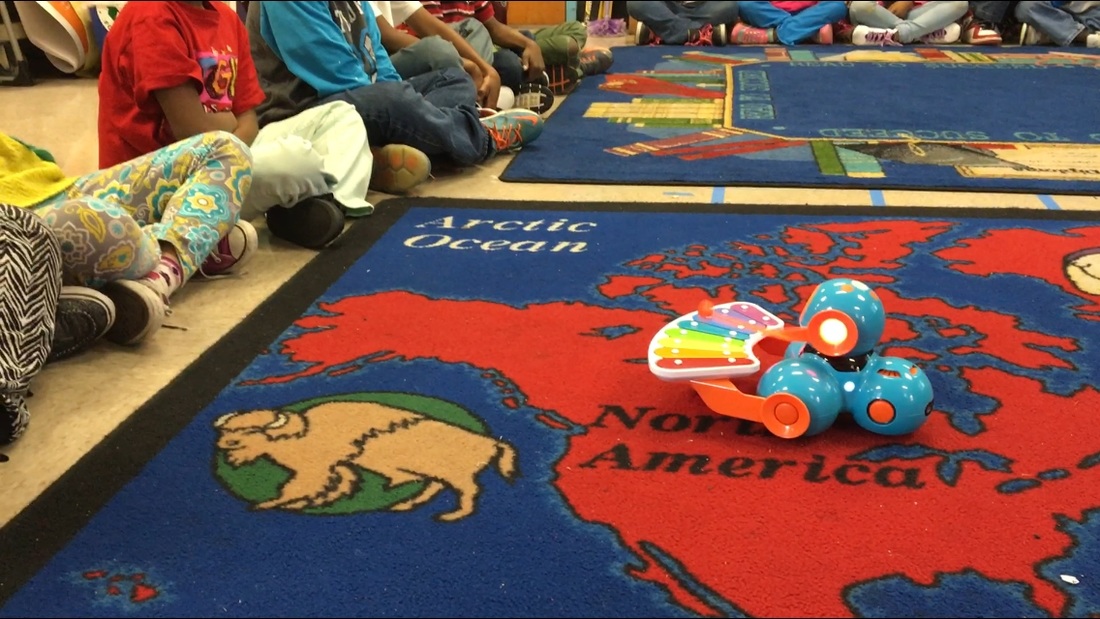
Dash and Dot
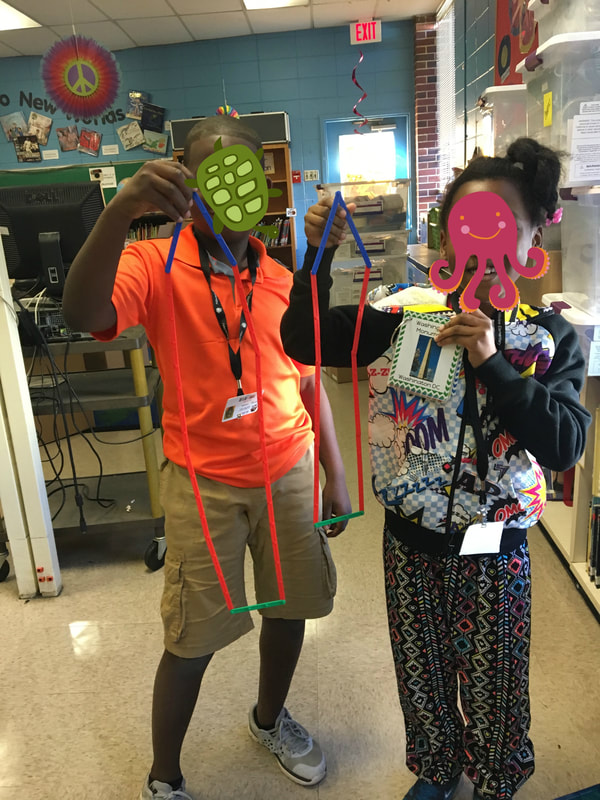
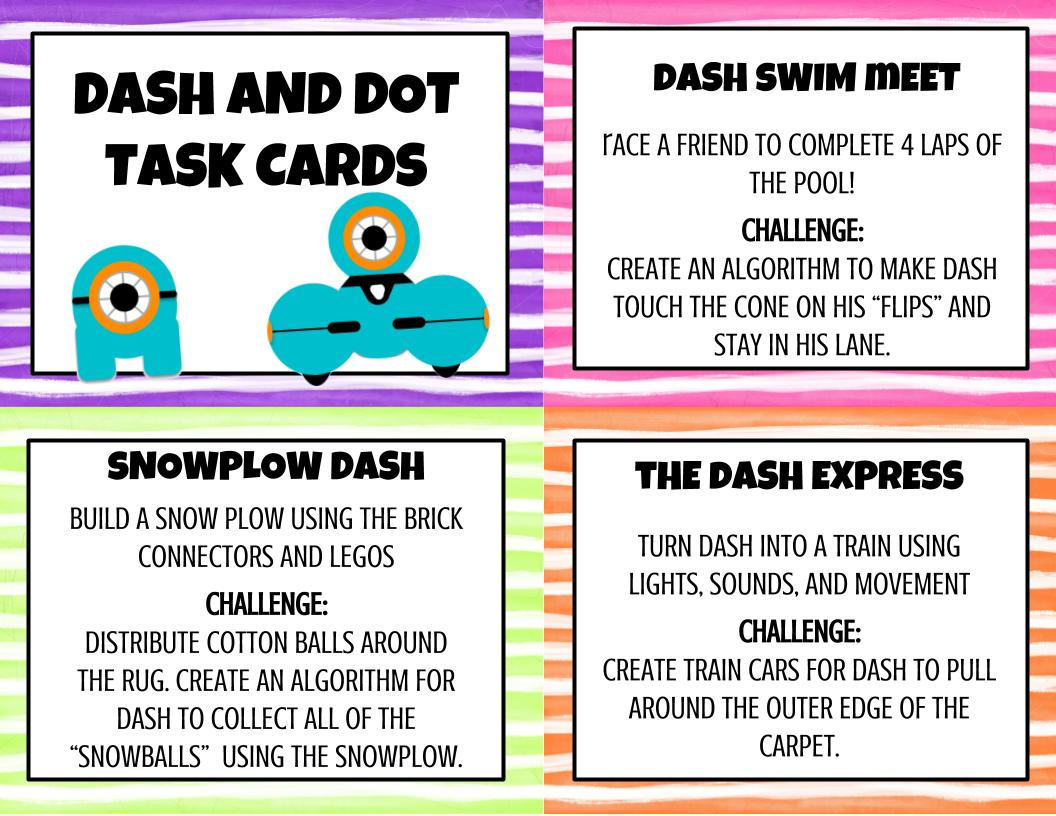
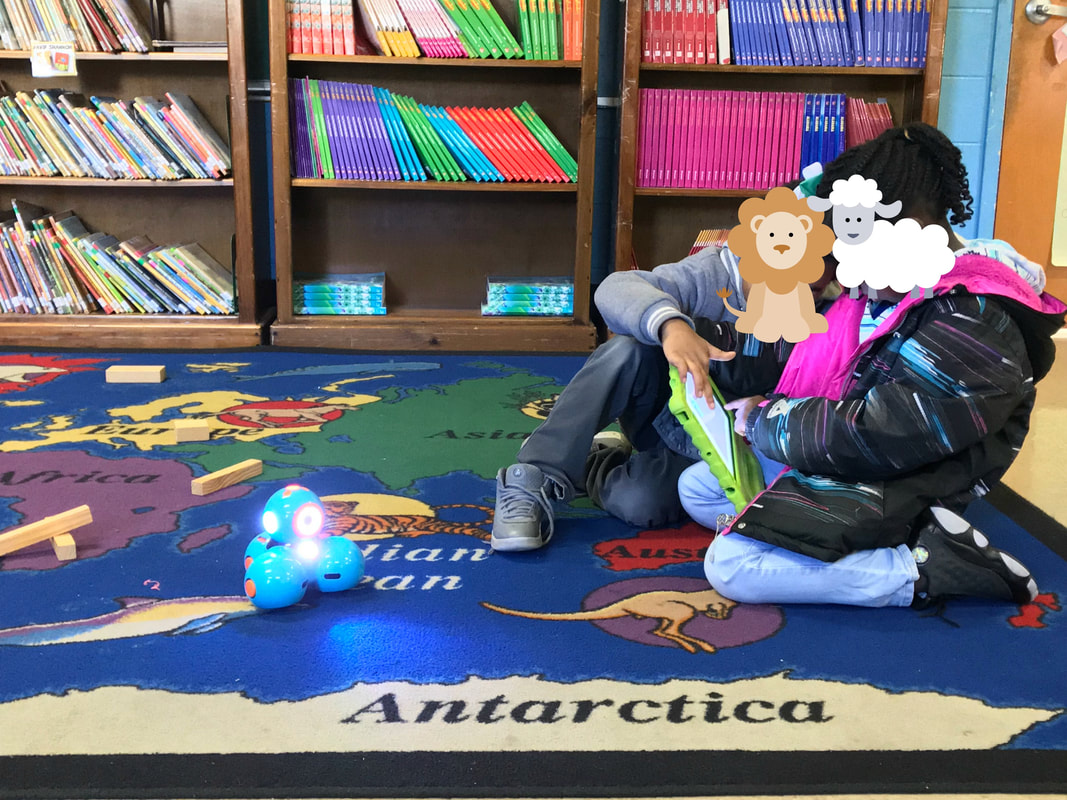
The Dash and Dot Robots are a favorite among all of my students. One thing I love is that they are simple enough to be used by my littles but can also provide a challenge for my older students. For the older students, we use these Dash and Dot Task Cards. We have purchased the launcher attachment and the xylophone attachment.
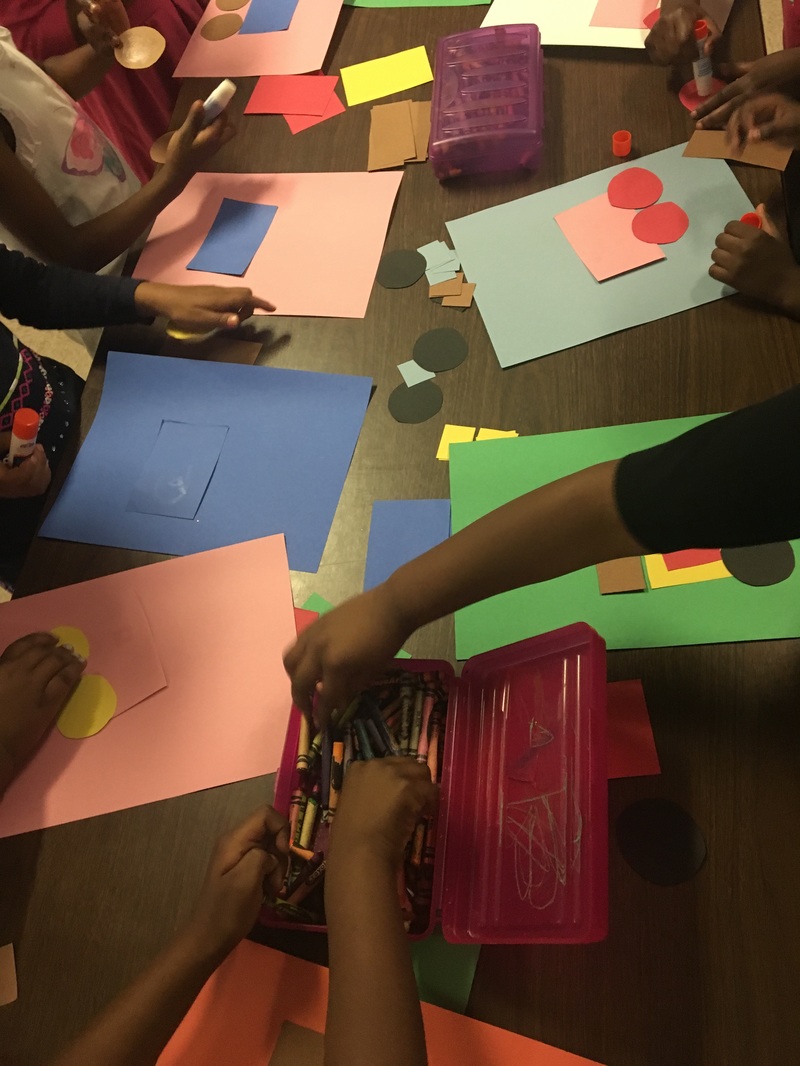
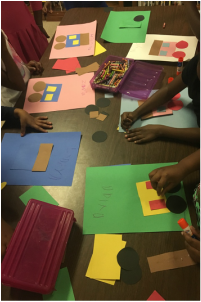
Art Centers
I try to include an art component in at least one center for each grade level. Here are just a couple of them. These and more can be found in my K-2 STEAM Centers and 3-5 STEAM Centers on TPT.
Bloxels
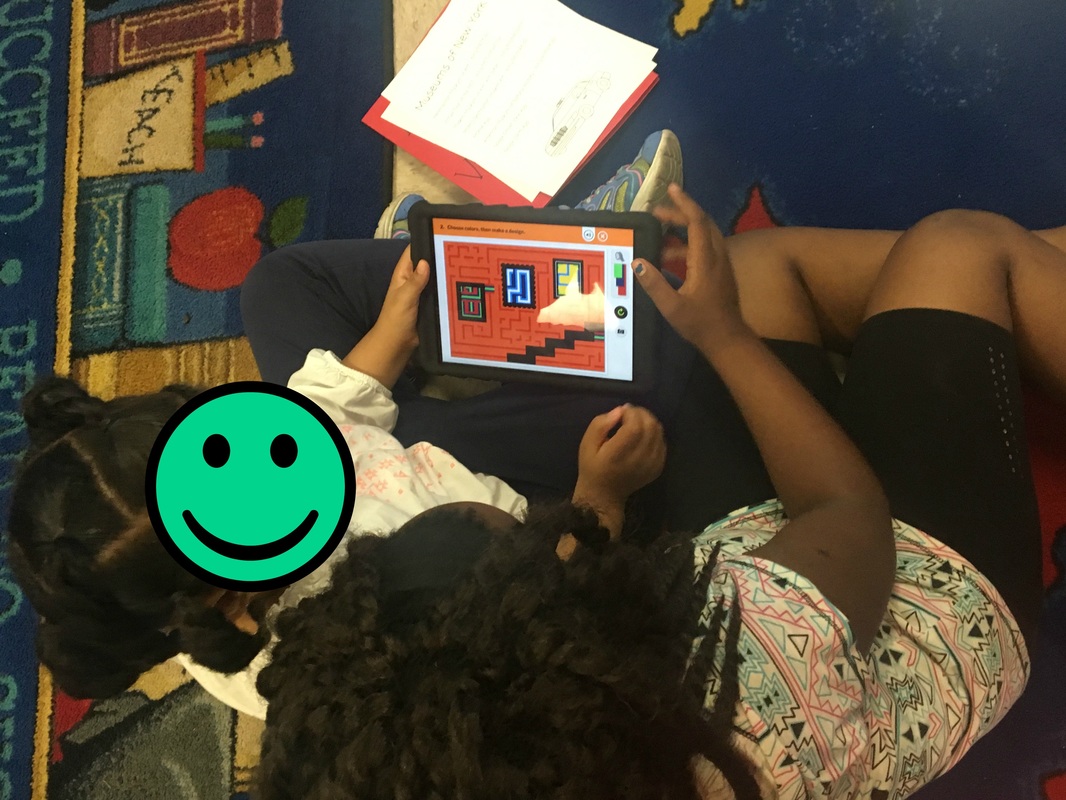
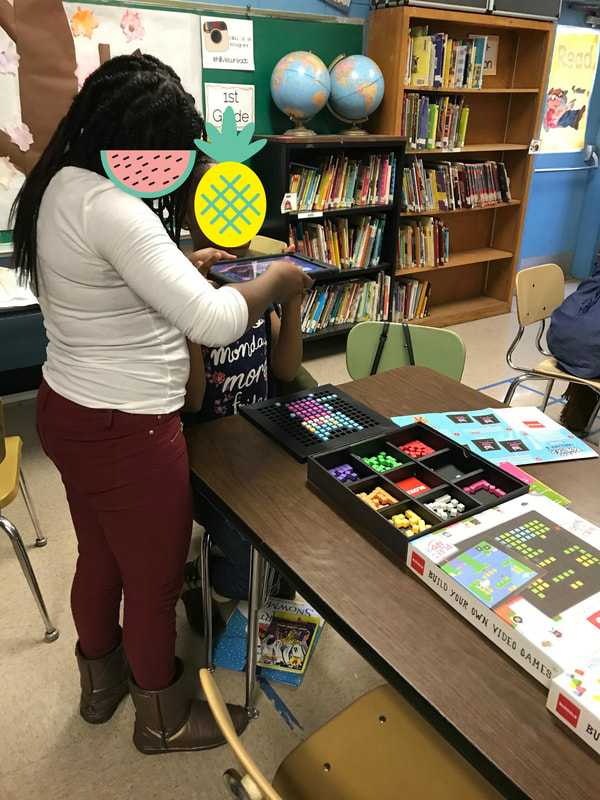
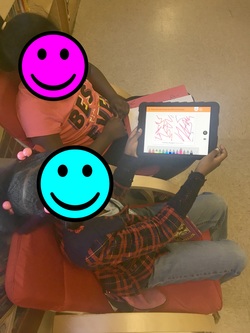
Bloxels were a new addition this year! I'll be honest...I still don't quite have it all figured out. But, my kids LOVED it! You use the Bloxels kit and an IPad to create your own video game. This was definitely an older student center. I used it with my 5th Grade students. One change I will make for this year is to have a smaller group size. It was hard for more that 2 or 3 students to work together using Bloxels.
These are just a few of the centers and products we love! Here is a list of a few other items that we love using in STEAM centers:
*Sphero *Sphero Mini *Learning Resources Code and Go Robot Mouse *LEGO Storytales *LEGO Stop Motion App *Strawbees *SnapCircuits *Squishy Circuits *LittleBits I am always looking for new ideas! I would love to hear what you love using in your STEAM activities or in your Makerspace!
0 Comments
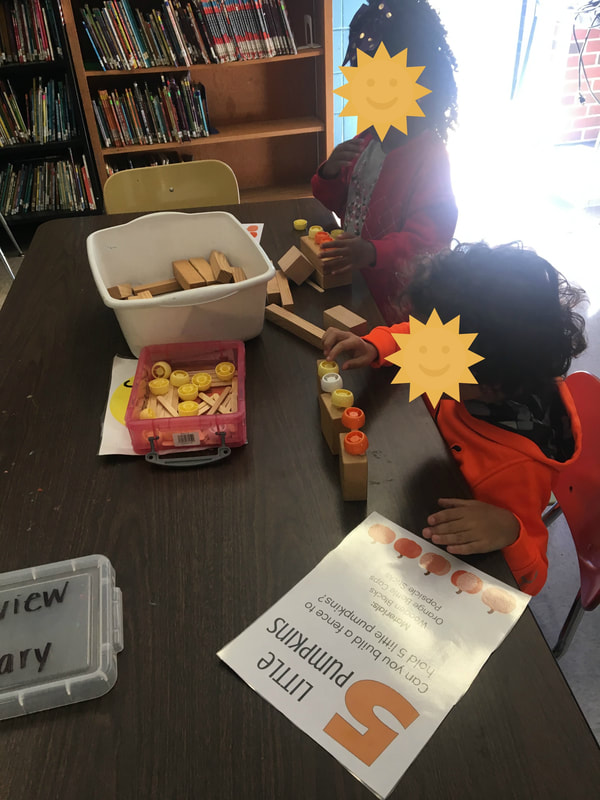
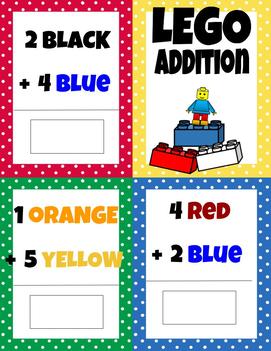
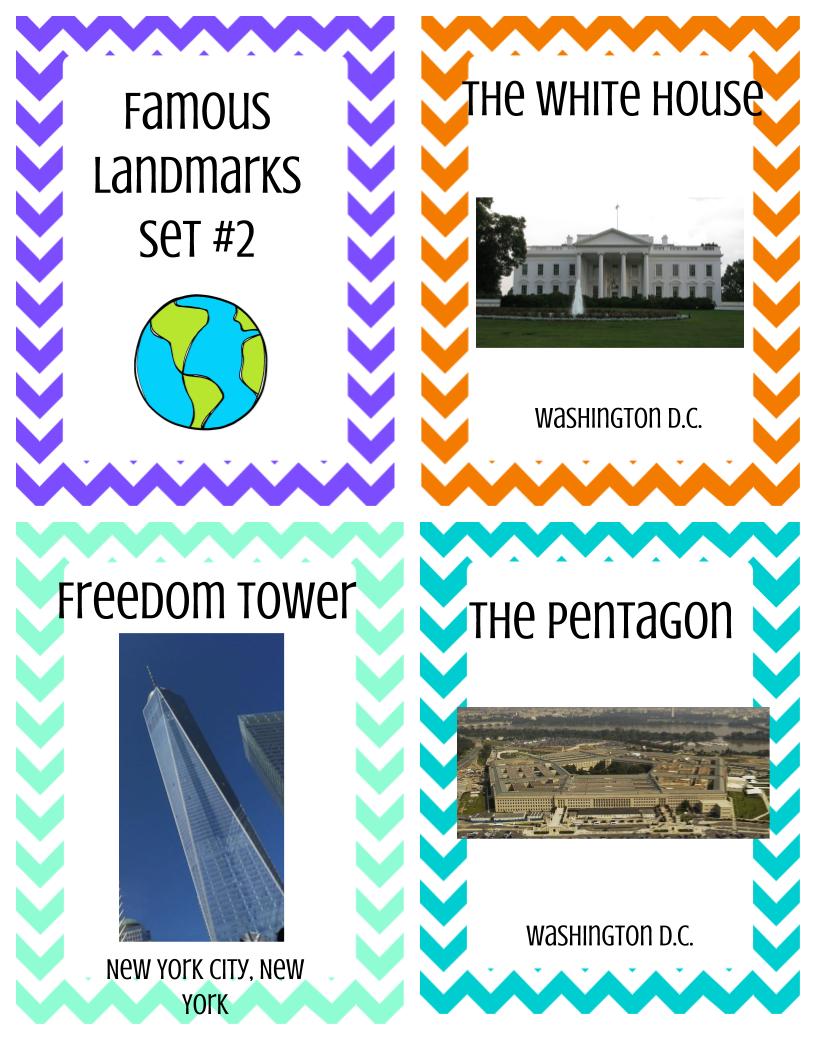
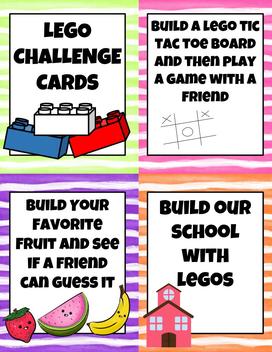
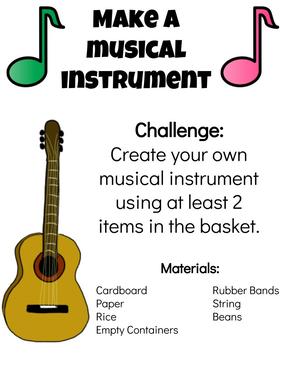
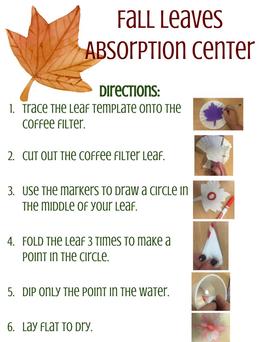
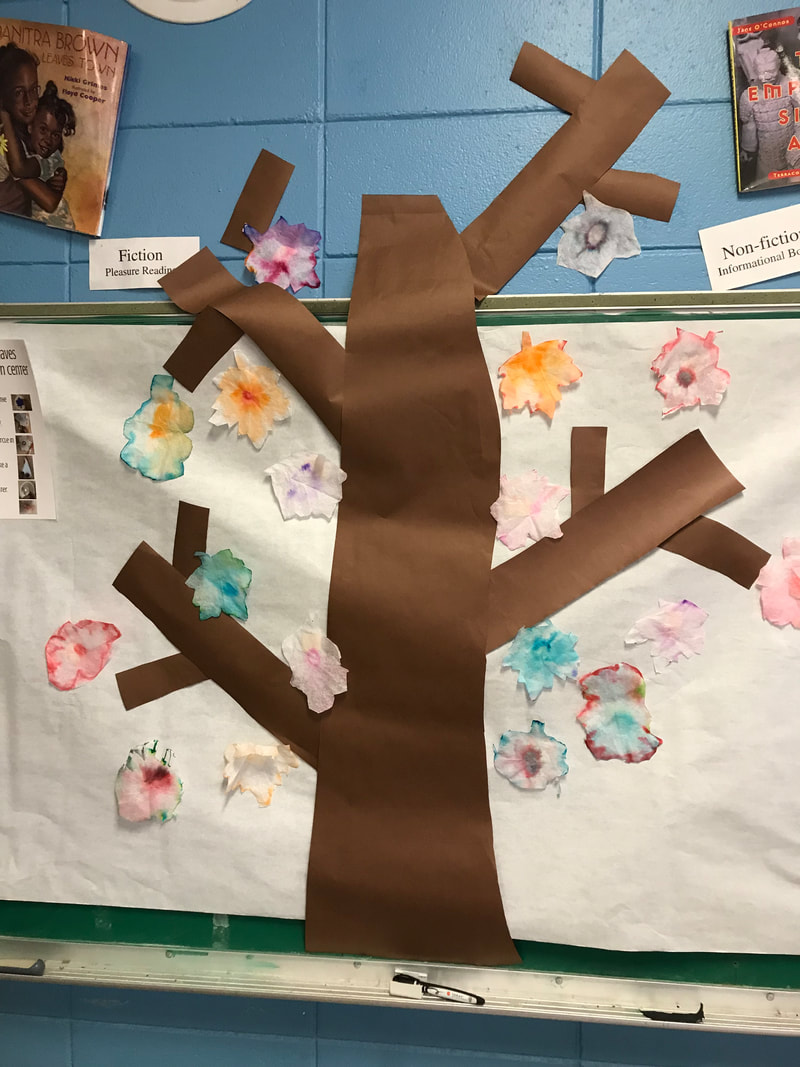
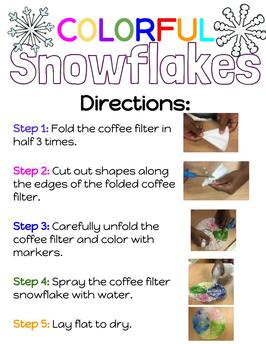
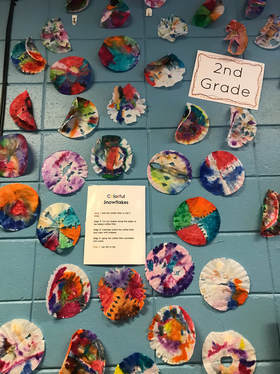
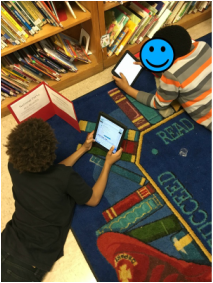
Each year we do a special project in the fall to celebrate reading together as a family. I try to rotate several different projects so that the kids don't get burnt out on doing the same project every year. The last time we did Storybook Pumpkins was the Fall of 2014 so about half of our students had never done this project. I am always blown away by the creativity of our students and their families!! My main goal for this project is actually not the pumpkins (although I do LOVE seeing our library filled with these works of art) is to get our families to read together and work on a project together related to that book. I want them to talk about the book, the characters, what they liked and didn't like. The pumpkins are just a super cute bonus! My hope is that reading together becomes a regular thing in every one of our families! Our Storybook Pumpkin Contest had 3 simple instructions: 1. Read a book together as a family. 2. Choose a character from that book and decorate a pumpkin to look like that character. 3. DO NOT CARVE PUMPKINS!! I explained the project to our students during their weekly library visit and sent a letter home to their families about 2 weeks before the pumpkins were due. I made the project due date on a Monday and allowed students that forgot to bring their pumpkins on Tuesday. Judging took place throughout the day on Wednesday. I had 4 judges. Two of the judges were our instructional coaches and the other two were people from outside our school. Each judge had a rubric and score sheet to fill out. We had 1 winner from Kindergarten - and 1st Grade, 1 from 2nd and 3rd Grade, and 1 from 4th and 5th Grade. We announced the winners on Thursday so that our students could take their pumpkins home that day (they were out of school on Friday). I absolutely didn't want to leave them in library over the 3 Day weekend to avoid the "Spongebob Incident of 2014" which you can read about here! We had 95 students (which is about 1/3 of our school) participate in this year's Storybook Pumpkin contest! I honestly was not expecting that many to participate in a completely voluntary project. The kids love this project and so do I so we may have to make it more a more regular event! Click here to download your copy of the Storybook Pumpkin Contest pack! It includes the parent letter, the student handout to be returned with the pumpkin, the judging rubric, and the judging score sheets. Here are photos of just a few of our pumpkins!  I have wanted to start a Makerspace in our library for a long time! An article I read quoted the Institute for Museum and Library Services saying that 65% of scientists with advanced degrees stated that their interest in science started before middle school. Through the MakerSpace, students are exposed to various forms of technology as well as elements of exploration, experimentation, creation, and design. With the layout and storage situation in our library, I just haven't found a way to make it work yet. I decided to incorporate STEAM centers into our library lessons instead. We did a 6 week STEAM unit. I choose 4 centers for each grade level. In Weeks 1 and 2 I introduced what STEAM means (Science, Technology, Engineering, Art, and Math), each center, and the expectations for behavior and participation. Side Note: Many of the ideas I found focused mainly on STEM centers. Our school doesn't have an art teacher and it was really important to me that our students have an opportunity to be creative so included 1 art center for each grade level. In Weeks 3-6 the students rotated through the centers doing 1 center each week. The kids loved this unit and have been asking when we can do centers again! It was so fun for me to watch them work together to creatively solve problems and complete tasks. When choosing the 4 centers for each grade level, I tried to take into consideration grade level standards to plan cross-curricular activities to build upon what they are learning in their classrooms. Some grade levels were easier than others. I will definitely be making a few changes to the centers next year. Here are a few of the centers for each grade level that we absolutely loved and will definitely be doing again next year! Kindergarten:I think we will be doing all 4 of Kindergarten's centers again next year! Storytime STEAM: Chicka Chicka Boom Boom - I found this idea on Pinterest and tweaked it a little. During the introduction week, we read the book Chicka Chicka Boom Boom and watched the sing along video on youtube. Materials: Cardboard Tubes Green Popsicle Sticks Magnetic Letters Instructions: Students will stand a cardboard tube on end. Then balance popsicle sticks and magnetic letters on top. They will try different numbers and arrangements of popsicle sticks to see how they can stack the most letters on top of their tree. The will say the name and sound of each letter as they add it to their tree. Building Challenge Cards: This center required the students to think critically, creatively, and cooperatively. They were given a variety of building materials and had to build one of the items in the flip book as a pair. CLICK HERE for updated Building Challenge Cards!  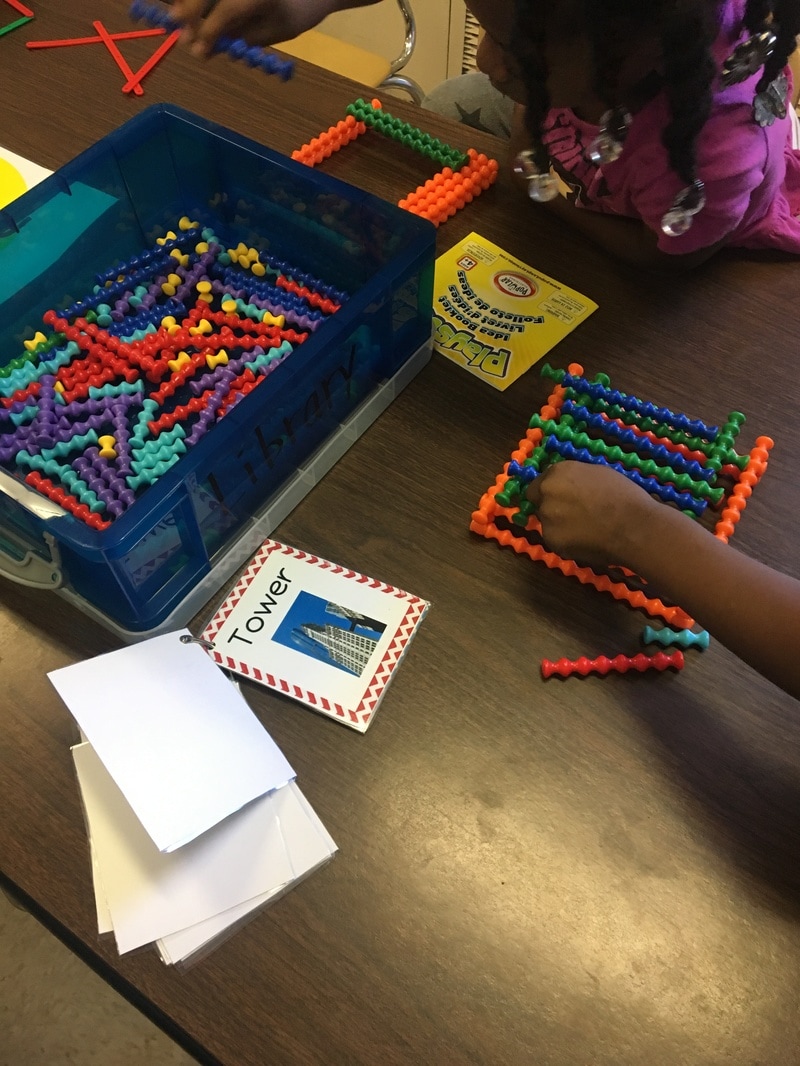 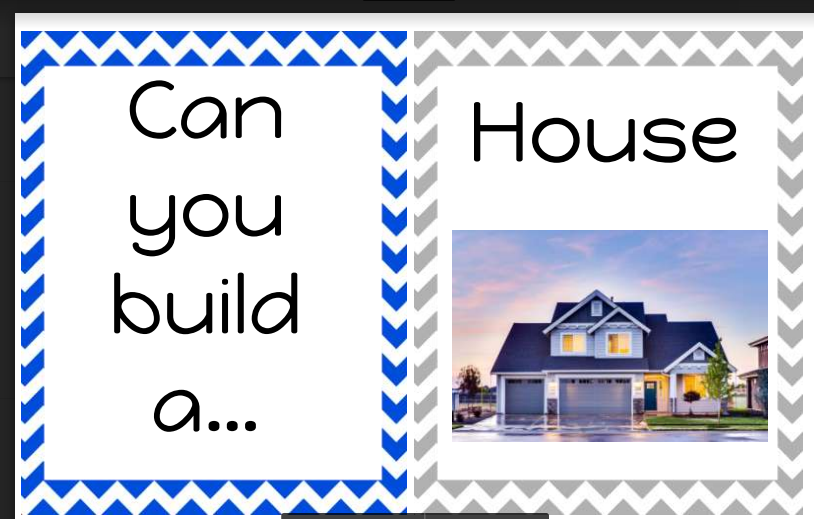 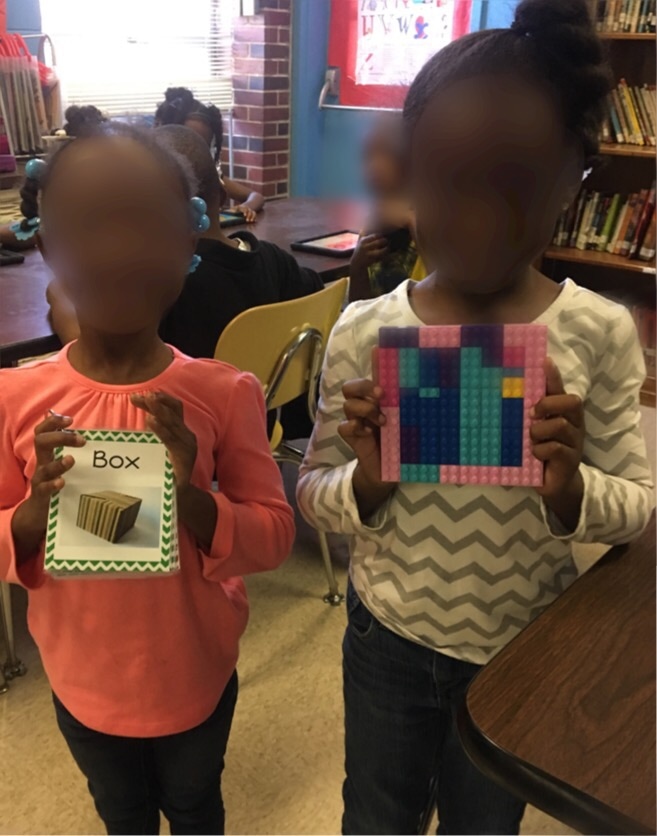 IPad Center: I had several different apps the students used during this center. Duck Duck Moose has some great apps that the kids really enjoyed and were learning in the process. We used Word Wagon and Moose Math the most. 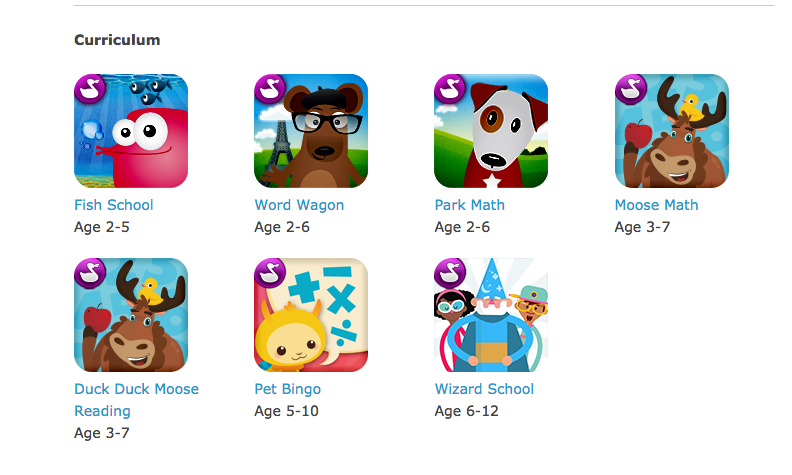 Masking Tape Letter Painting: This was Kindergarten's art center. I taped out the first letter of each child's first name. They painted the piece of construction paper. The next week, we peeled off the masking tape to reveal their letter. This was VERY messy and some of the letters were difficult to tape out (ugh...so many S names!) but the kids really enjoyed it! 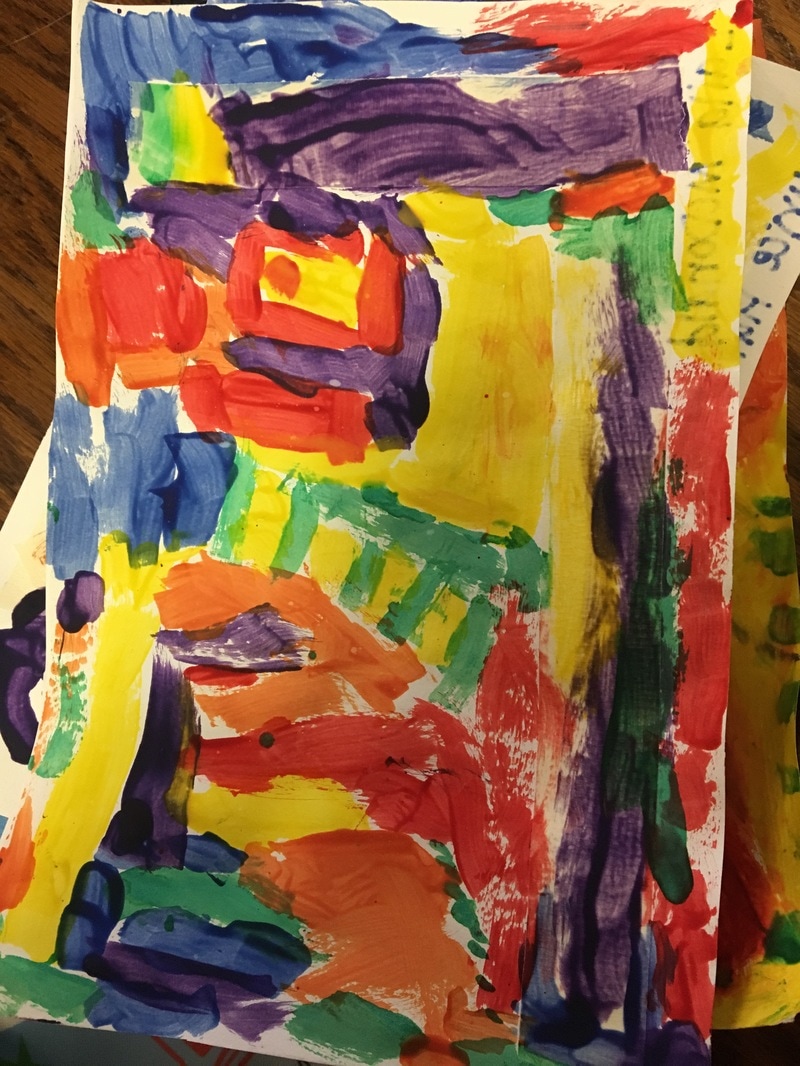 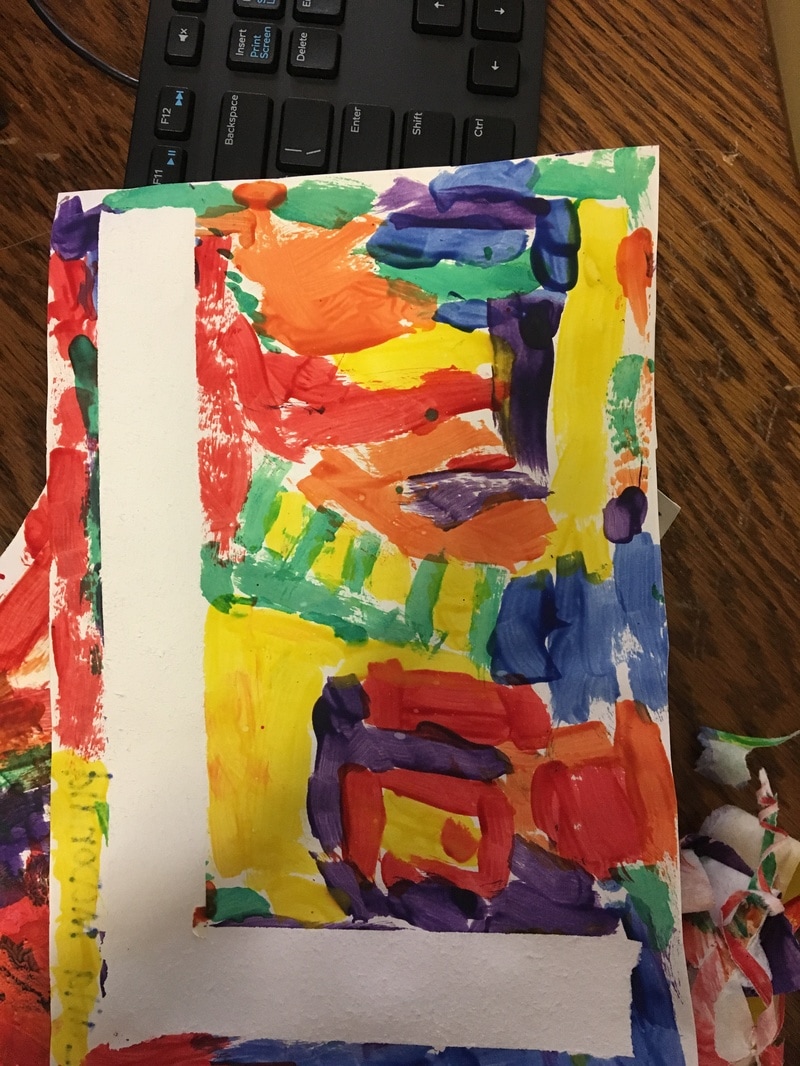 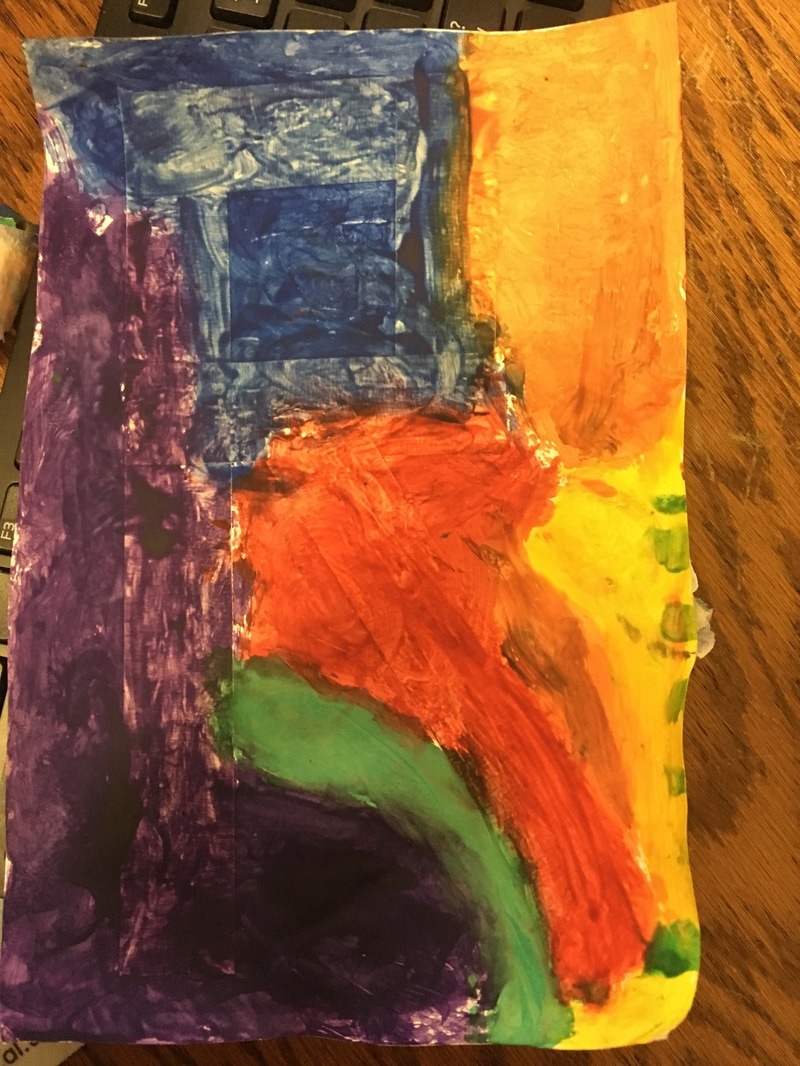 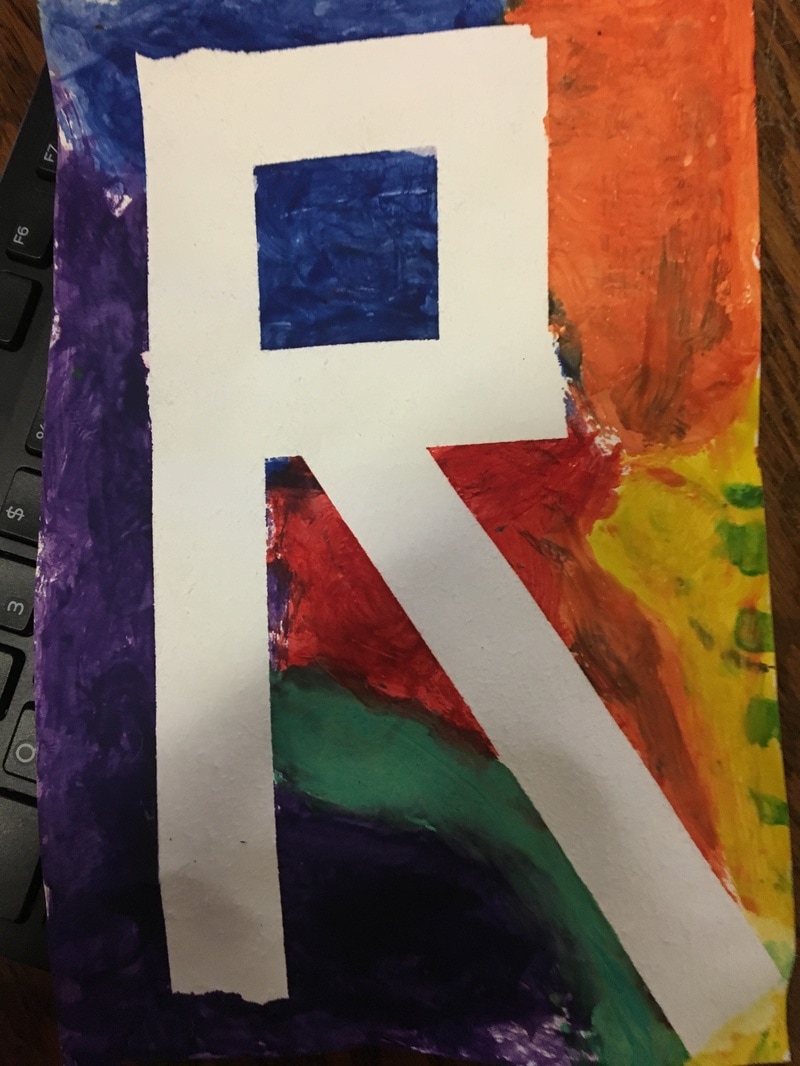 1st Grade: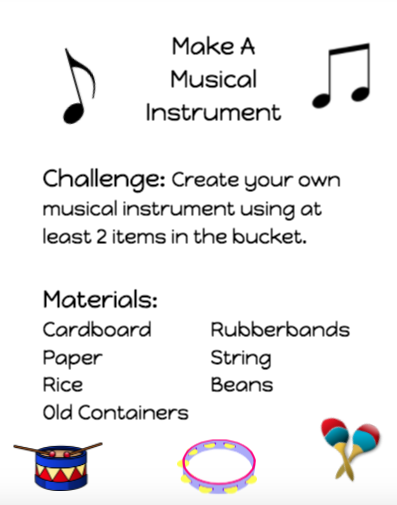 We will be doing all 4 of 1st Grade's centers again next year too! Make A Musical Instrument - 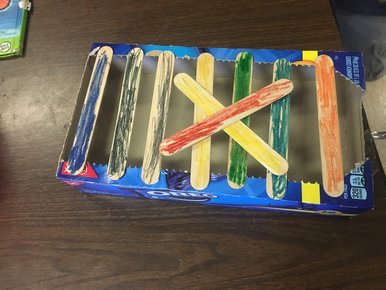 IPad Center - 1st Grade used the Duck Duck Moose apps as well. They mostly used Moose Math and Duck Duck Moose Reading. 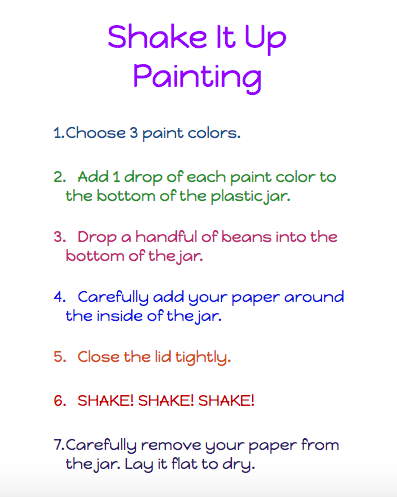 Shake It Up Painting - 1st Grade's art center had the potential for a big mess but they did well, and I stayed very close to monitor. It was fun to watch them try to figure out how they needed to shake the jar to get the beans to paint different areas of the paper. 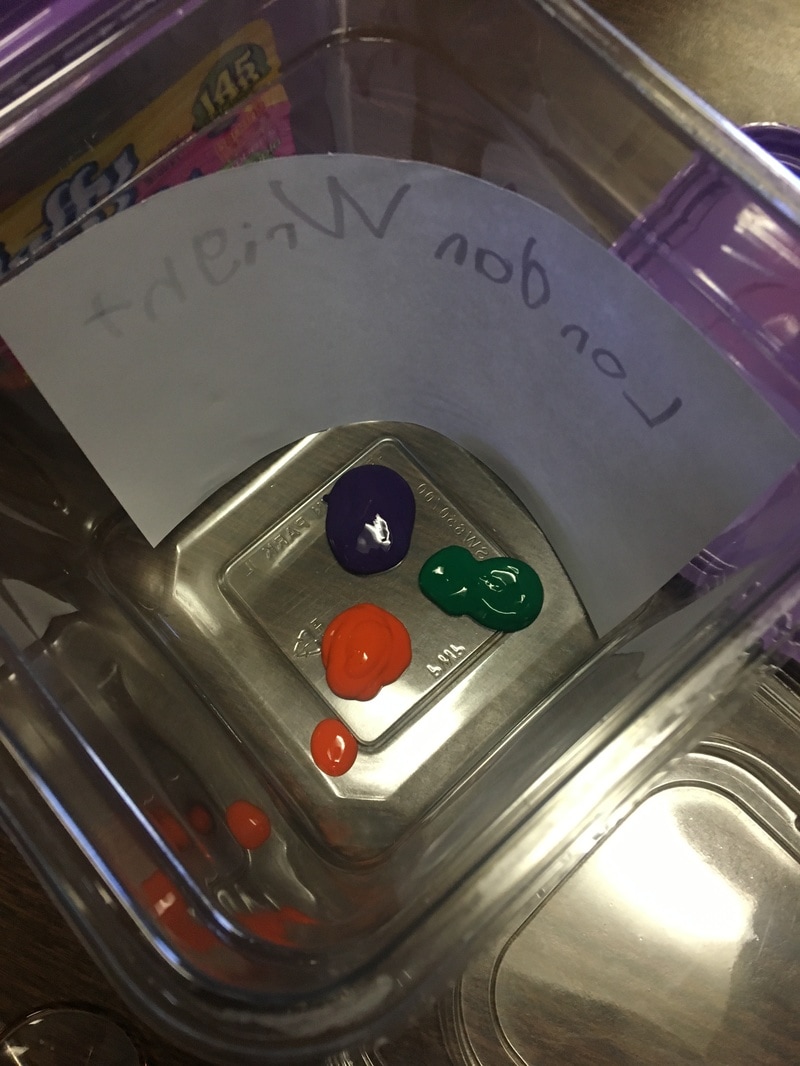 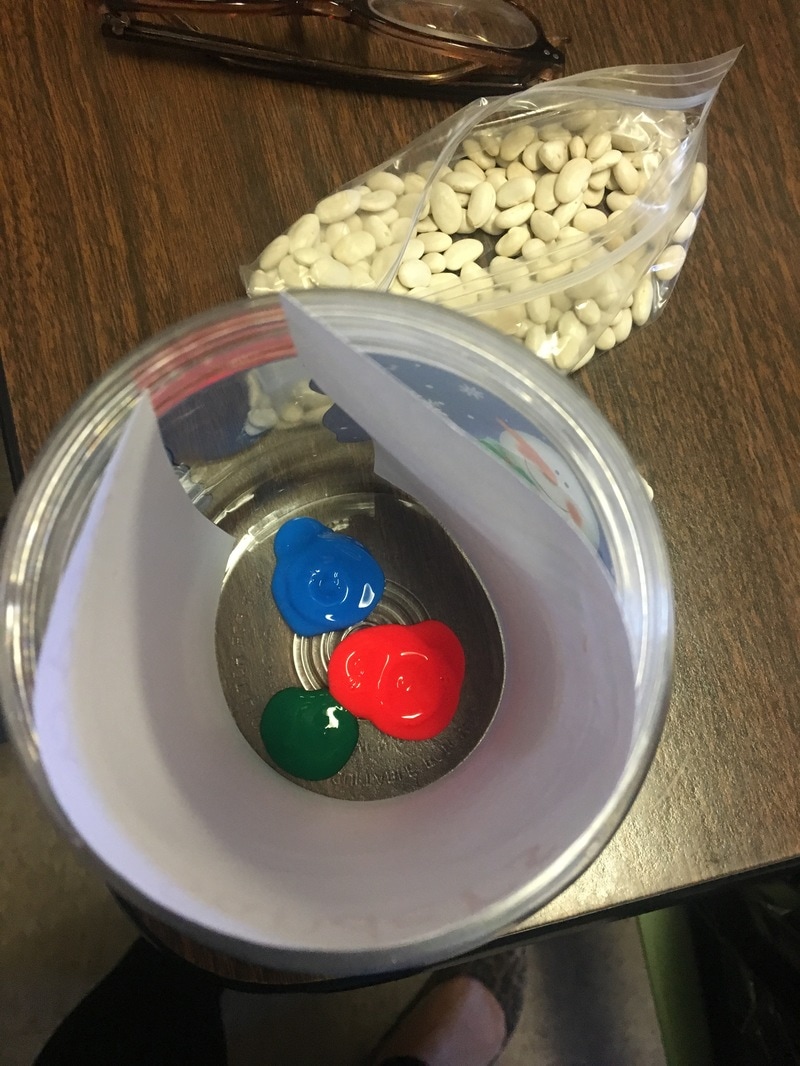 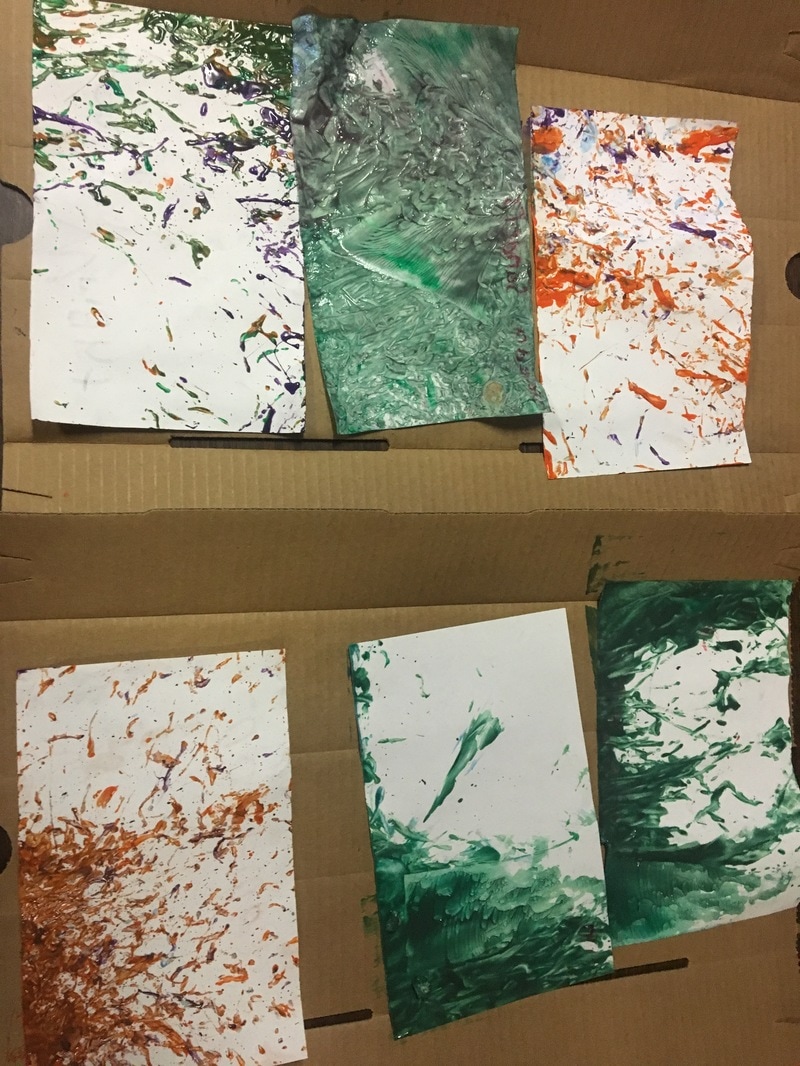 LEGO Addition Cards - I put several different building materials on the table (We don't quite have enough legos to go around yet so I had to supplement with other building materials). The students used the various blocks to work simple addition problems and then build something of their choice with that number of blocks. CLICK HERE for updated Lego Addition Cards! 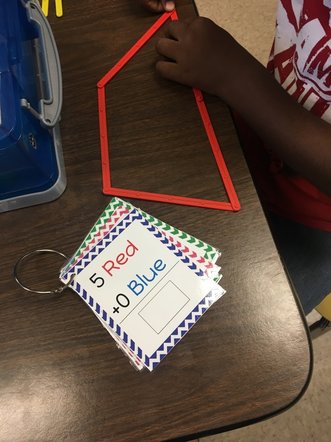 2nd Grade:LEGO Stop Motion - This was a crowd favorite! The students were given a bucket with various items to create a story using the Lego Stop Motion app on the Ipad. They had to work together as a group, building set items, writing the story, filming each segment, and moving the pieces. 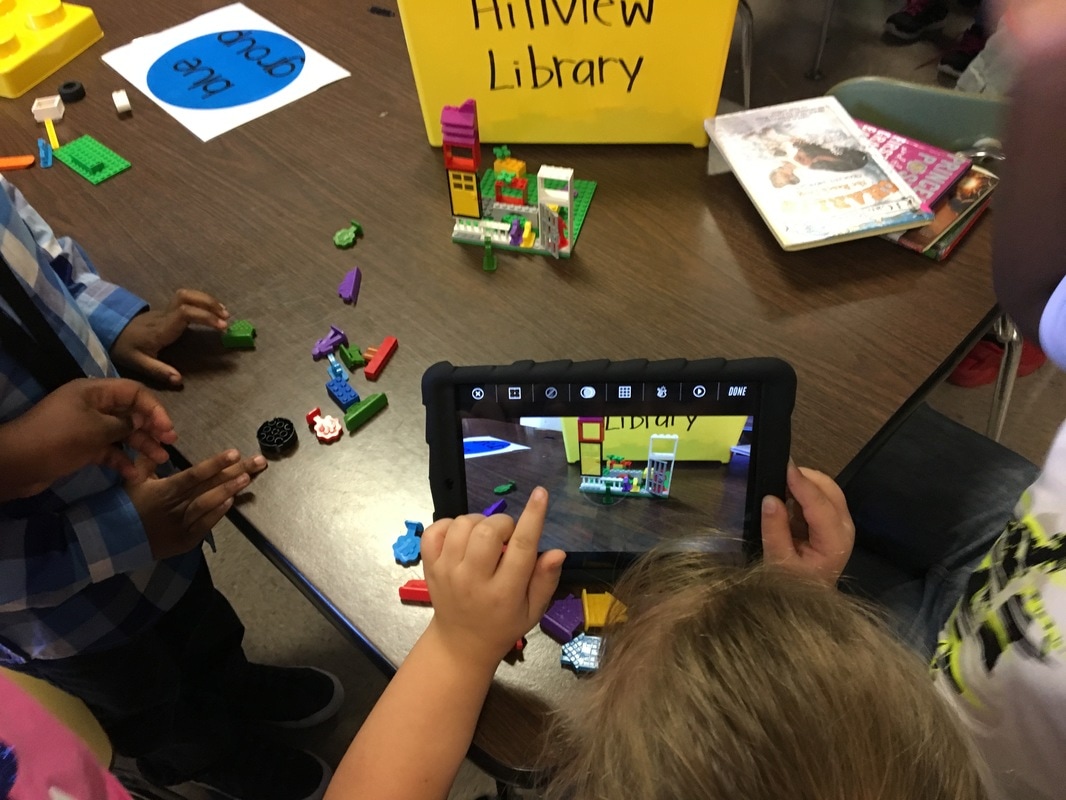 Colorful Snowflake - This was such a fun art project! Each student was given a coffee filter. The used washable markers to color a design on the coffee filter. After their design was complete, they used a spray bottle to lightly spray water on to the coffee filter. The word "magic" was often used as the watched the colors spread and their design change. They also made a pretty and colorful display for the library walls! 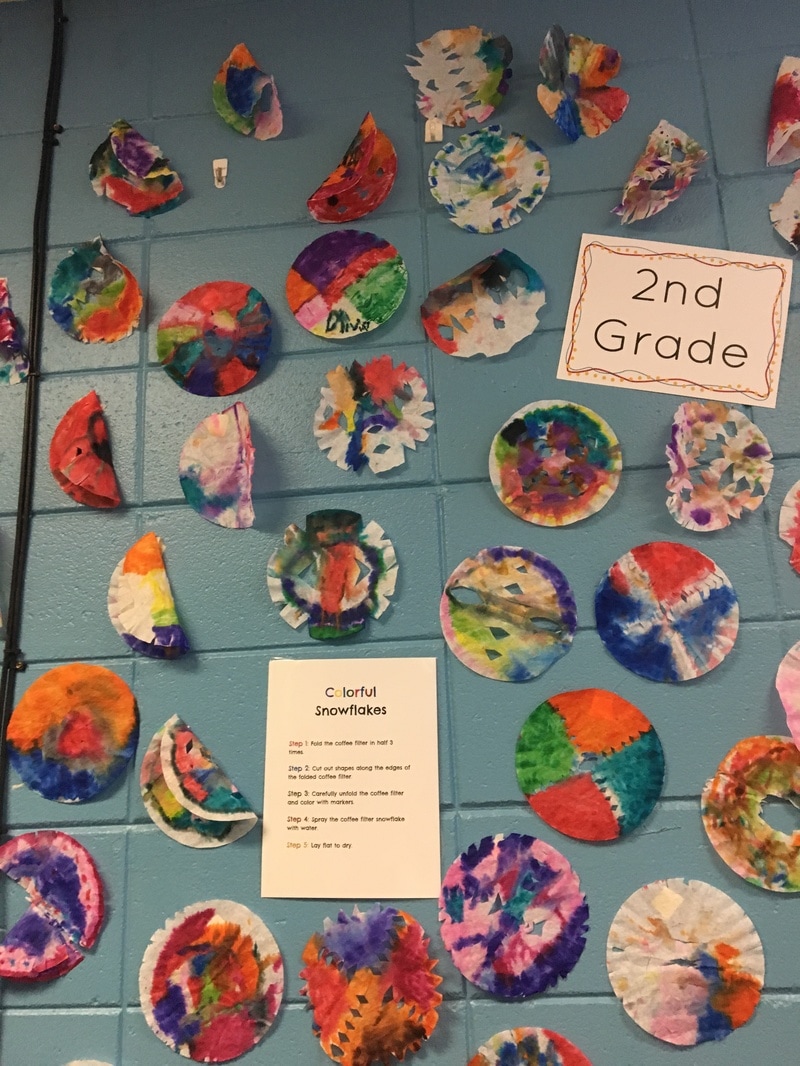 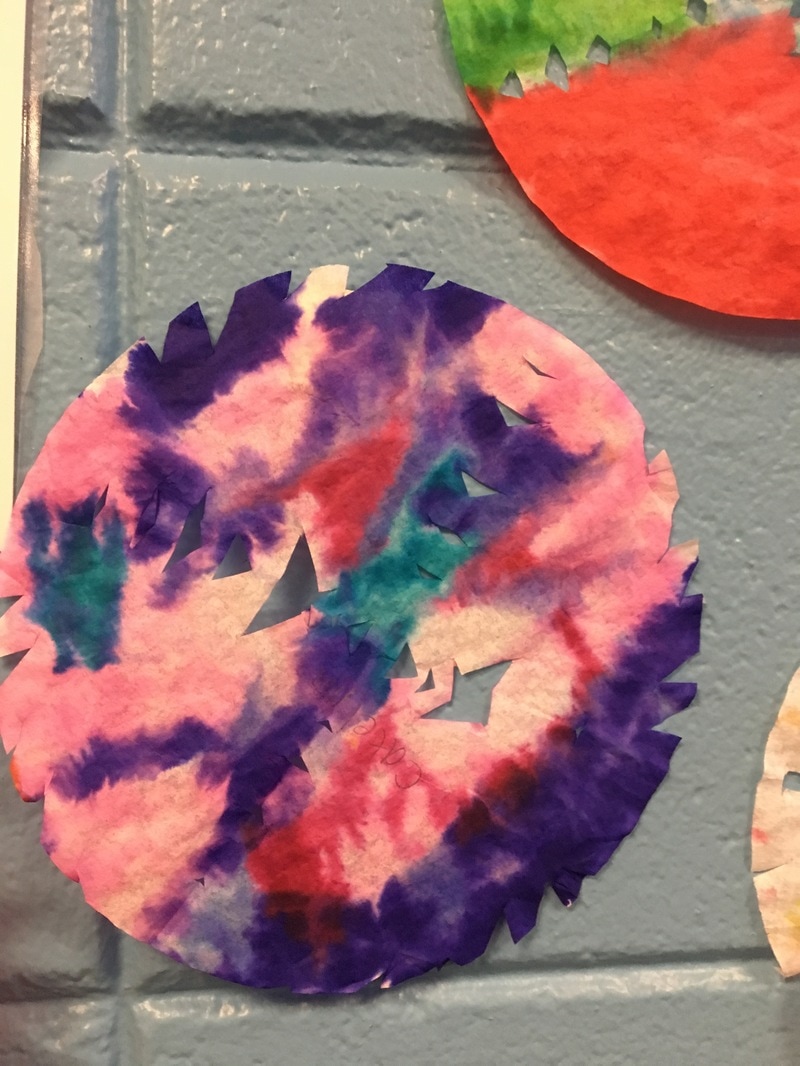 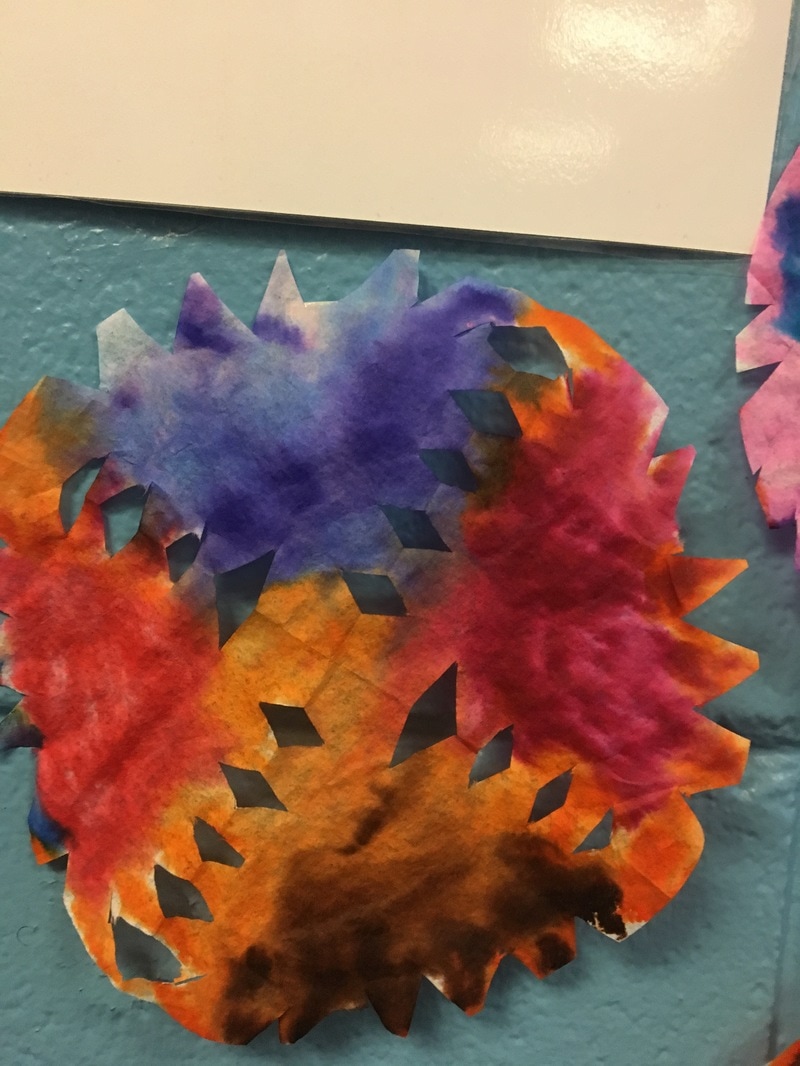 LEGO Challenge Cards - For this center the students chose a partner within their group to work with. Each pair had a flip book of building challenges to complete. Click Here for the updated Lego Challenge Cards! 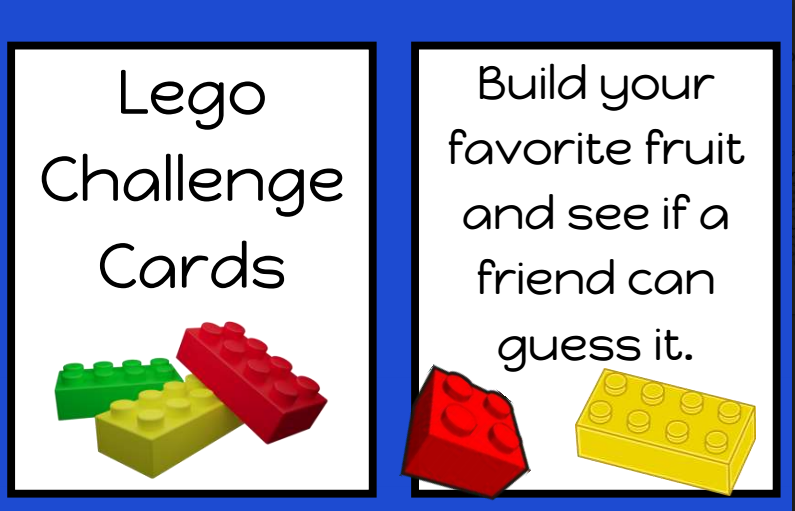 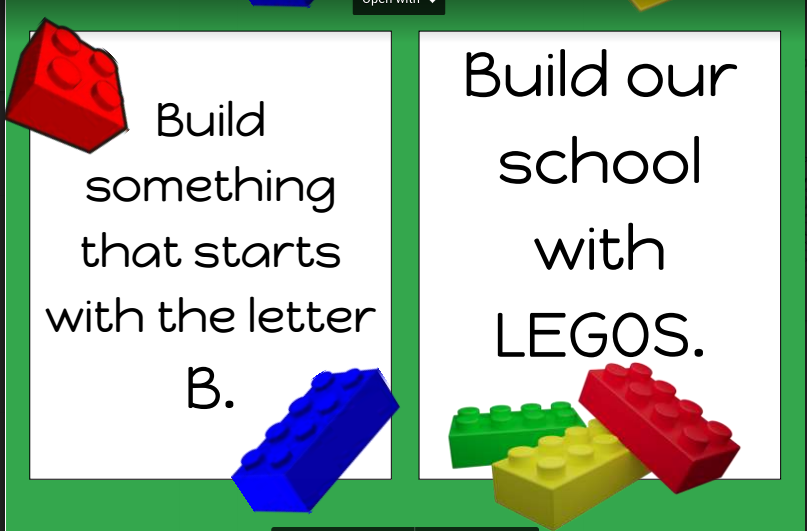 3rd Grade:Coding Center - 3rd Graders used Ipads to practice their coding. We used the apps Daisy the Dinosaur and The Foos. Famous Landmarks Building Challenge - The students worked in pairs with in their groups for this center. Each pair had different flip book with various famous landmarks from around their world. They had to work together to recreate those landmarks using different building blocks. CLICK HERE for updated Landmark Building Challenge Cards!  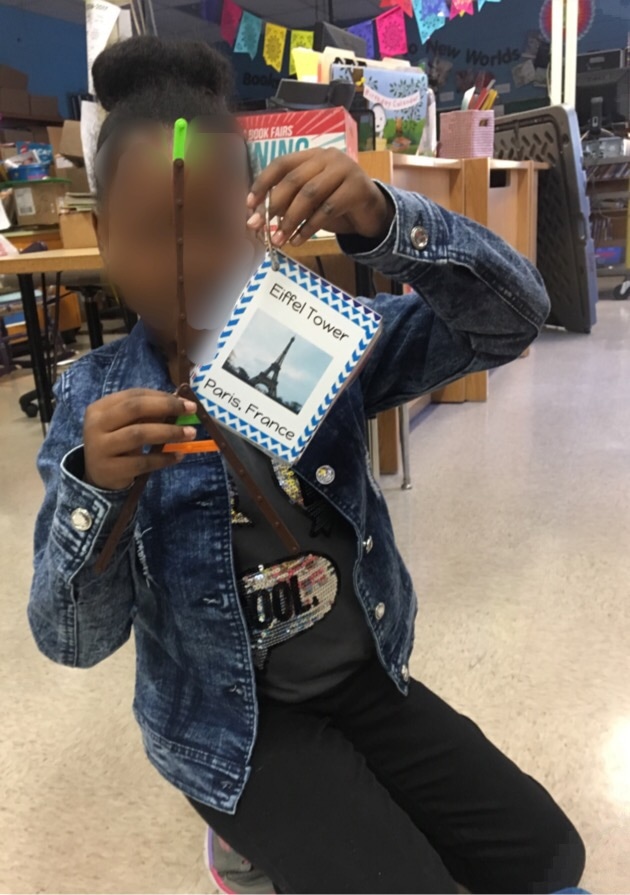 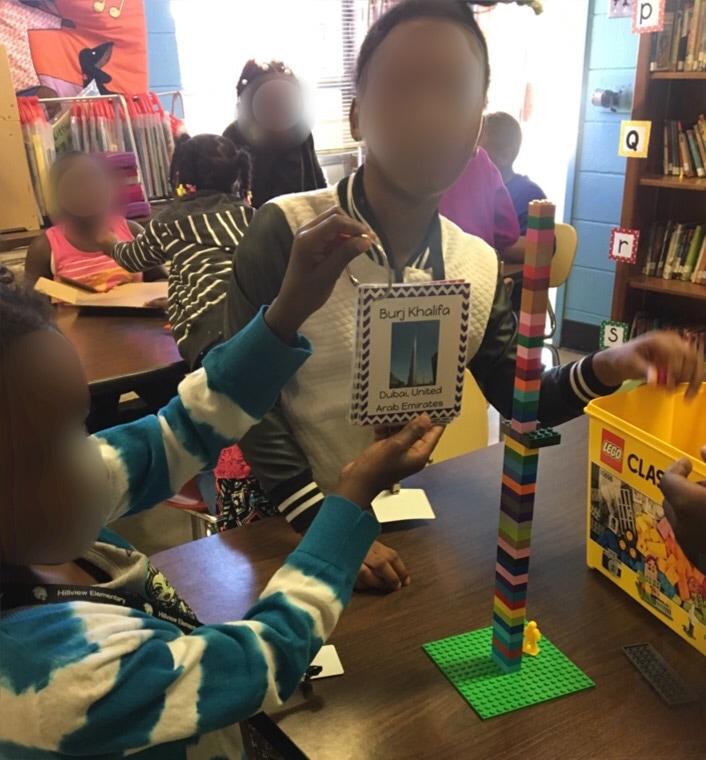 LEGO Shadow Art - This year we only had 1 set of Legos to work with. Next year, I am hoping we will have more. I didn't have enough to use in this center as well as the Landmark Building Challenge center. We used other building blocks but they didn't quite work as well as the Legos would have. Each group build a structure of some kind out of the building blocks. On sunny days, they built it outside on the sidewalk in the sunshine. On cloudy days they created the shadows using a flashlight. After they built their structure, one person traced the shadow onto white copy paper and then they decorated it with markers, crayons, and paint as a group. 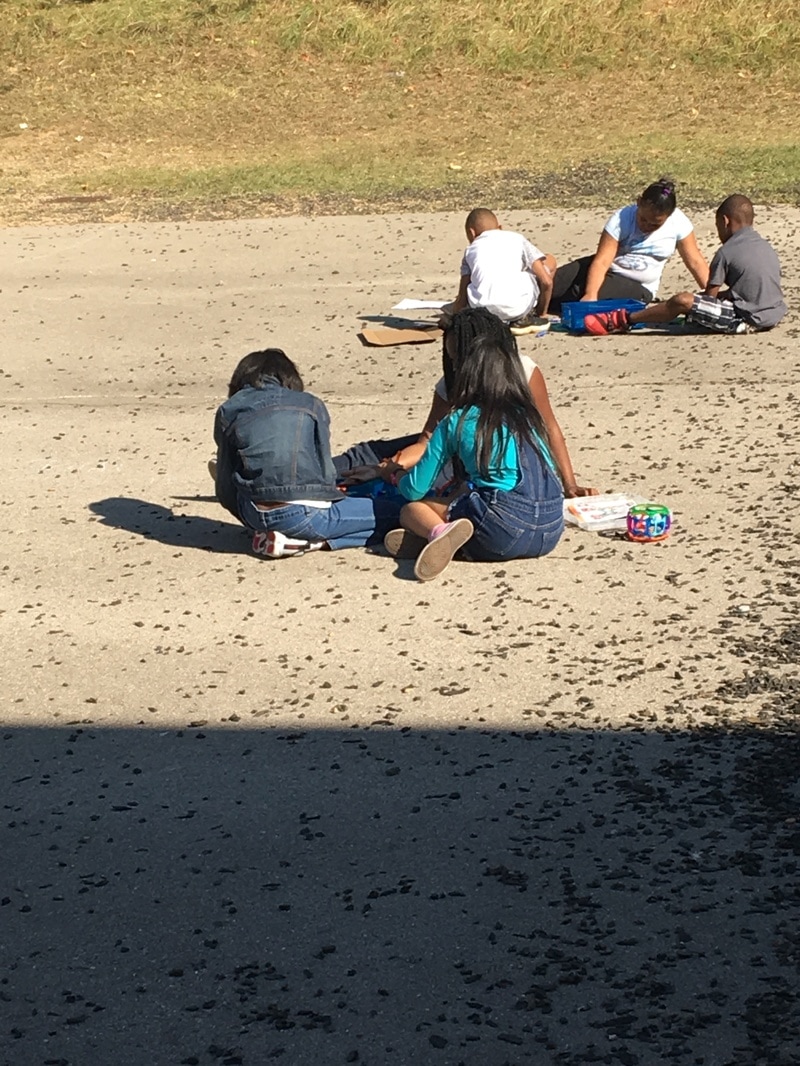 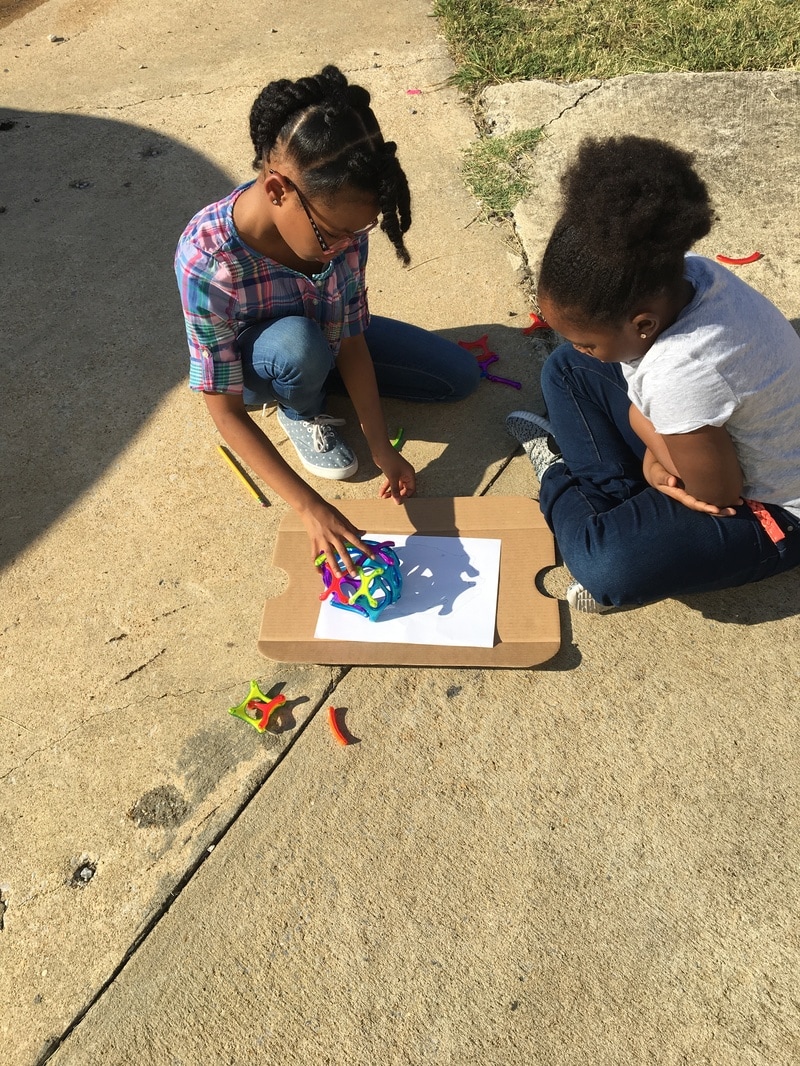 4th Grade:Little Bits - This was probably the favorite center in 4th Grade! One of their science standards focuses on electric circuits. This particular Little Bits circuit set allowed the students to snap together the circuits to create musical instruments. One group of students created a keyboard a learned to play Mary Had a Little Lamb! This was the only set we have this year. I already have more sets ordered for next year! 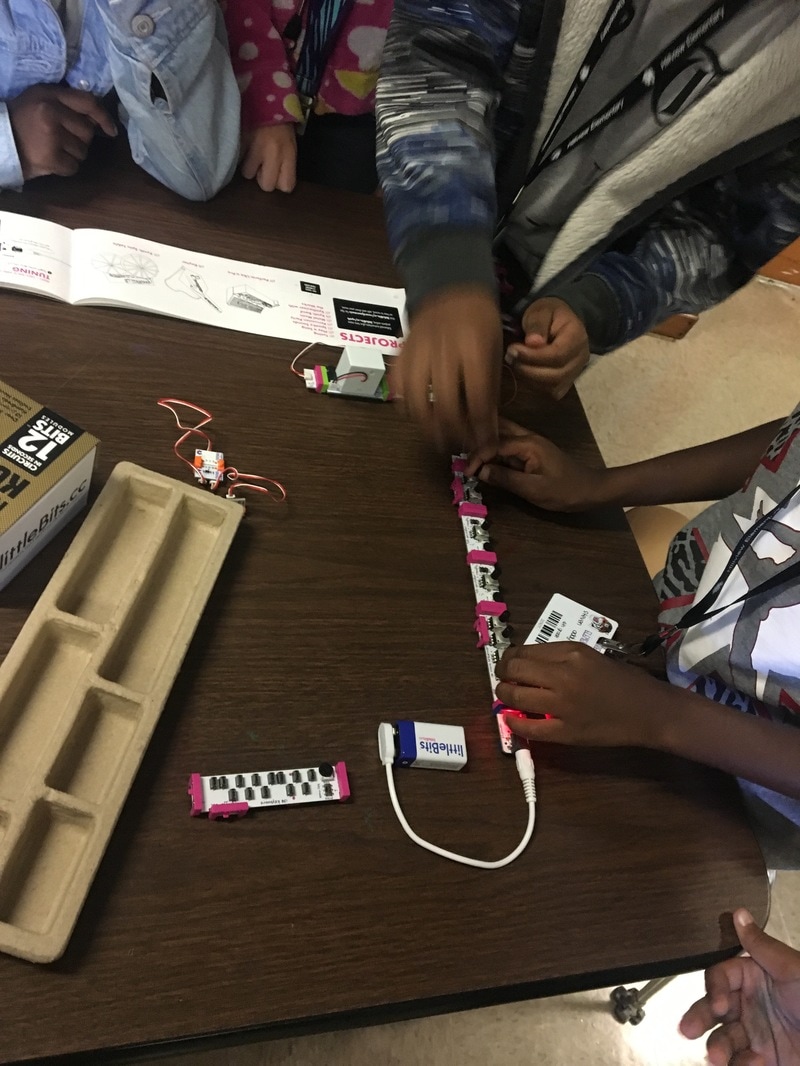 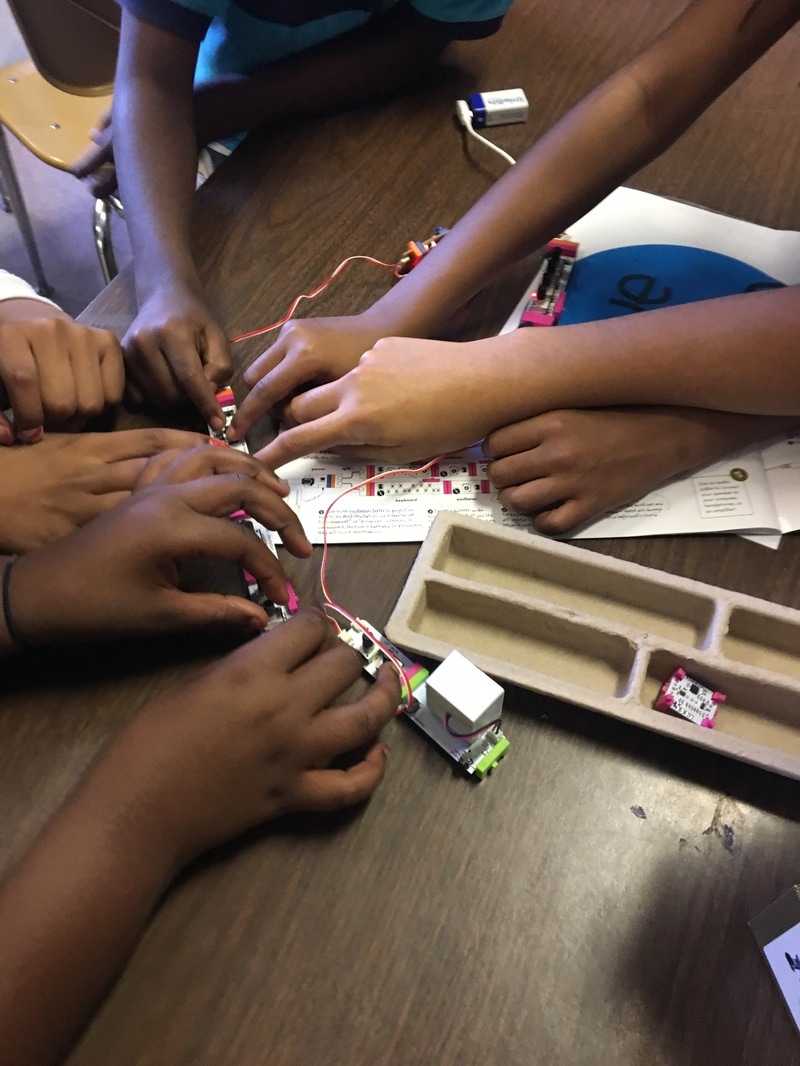 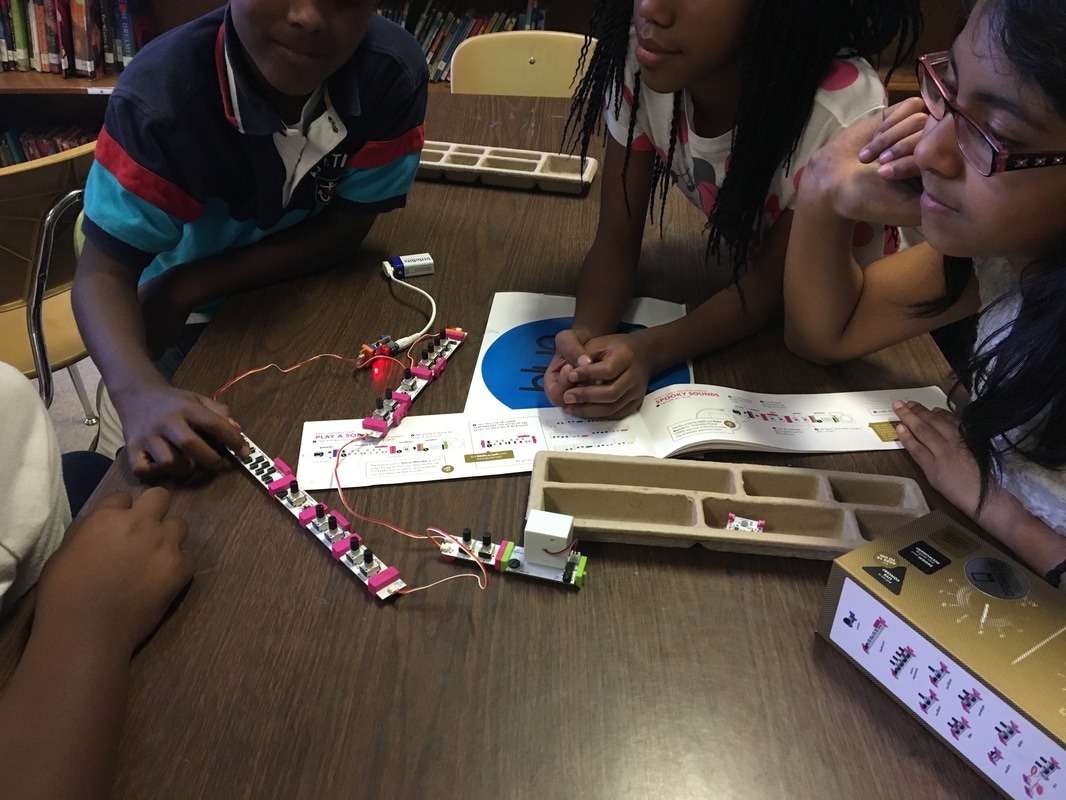
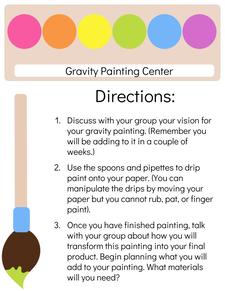
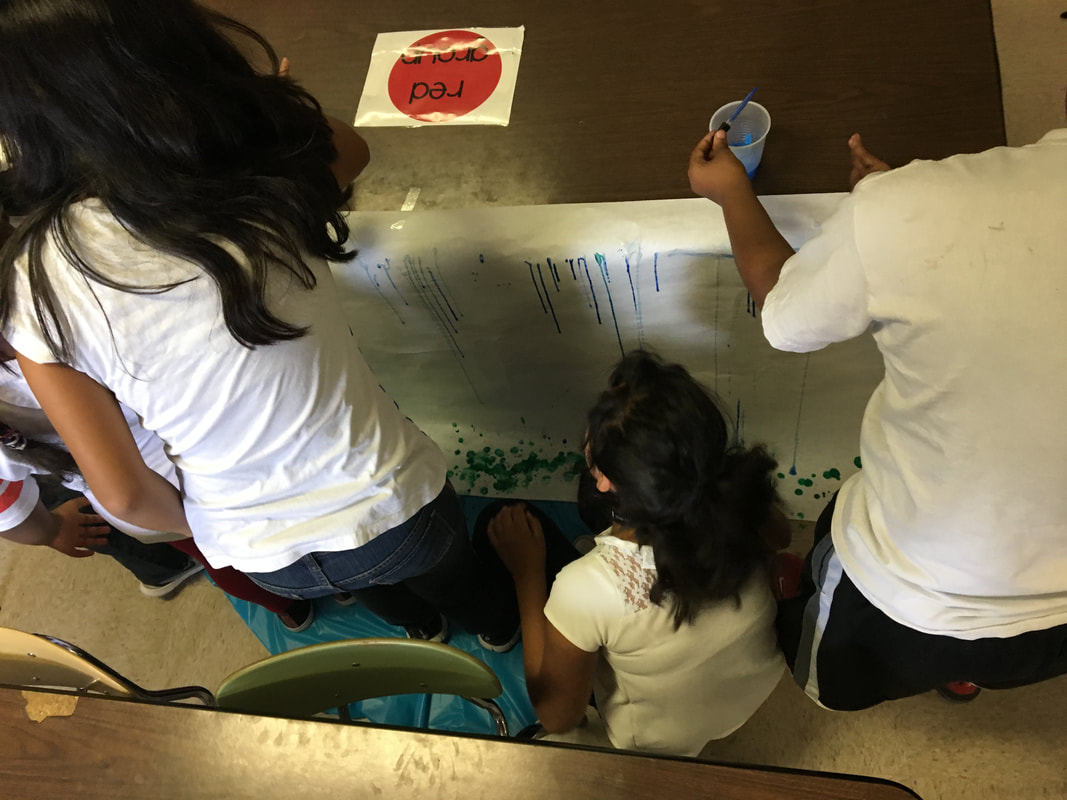
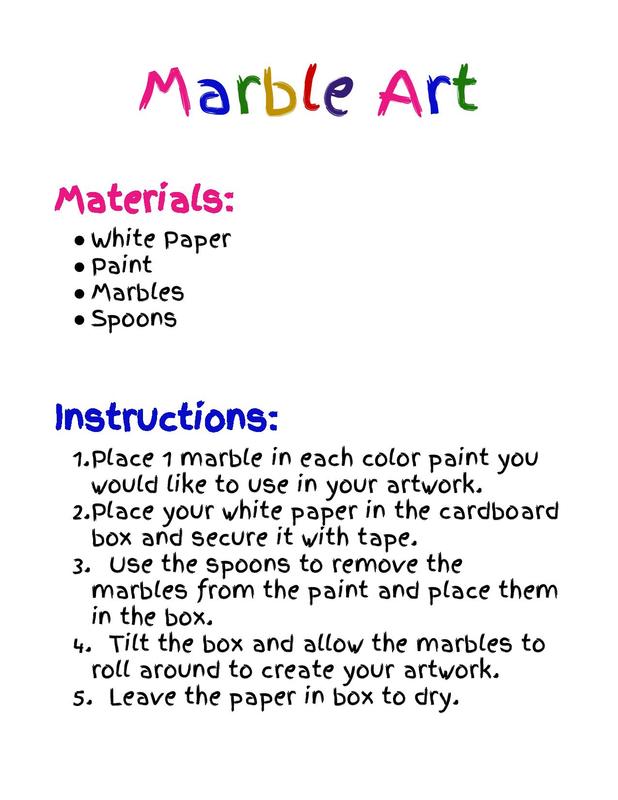
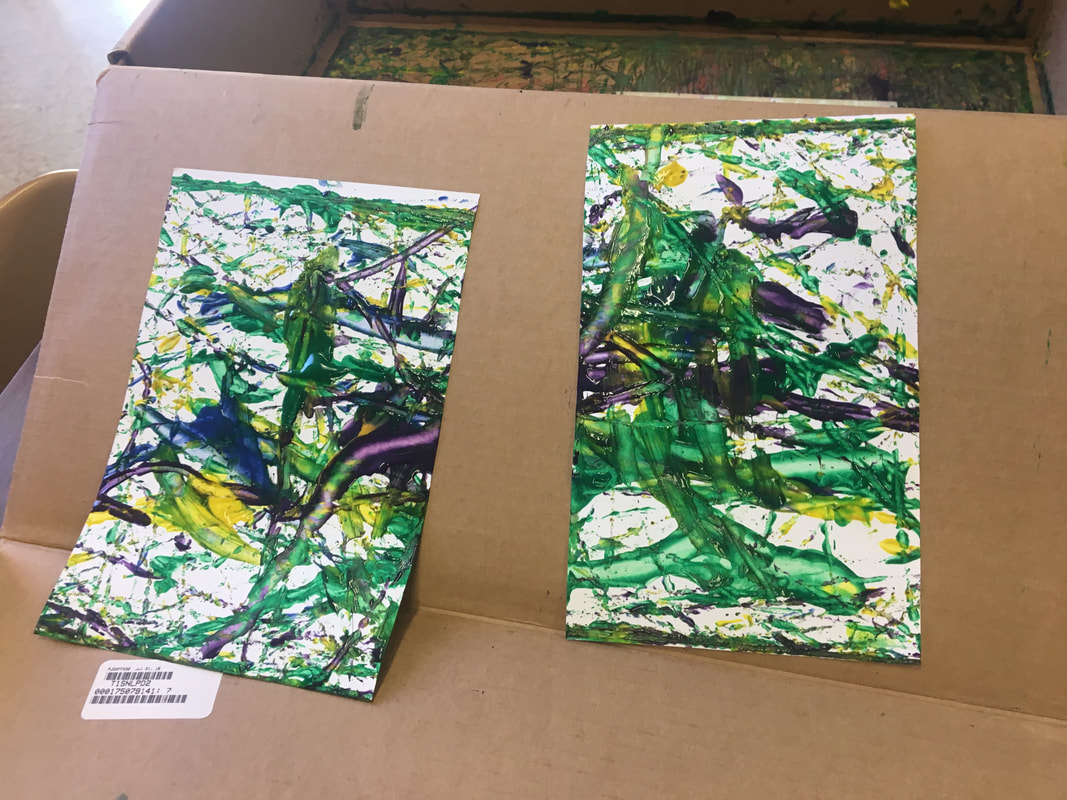
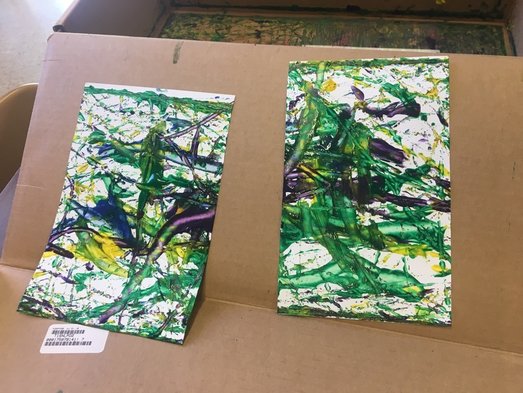
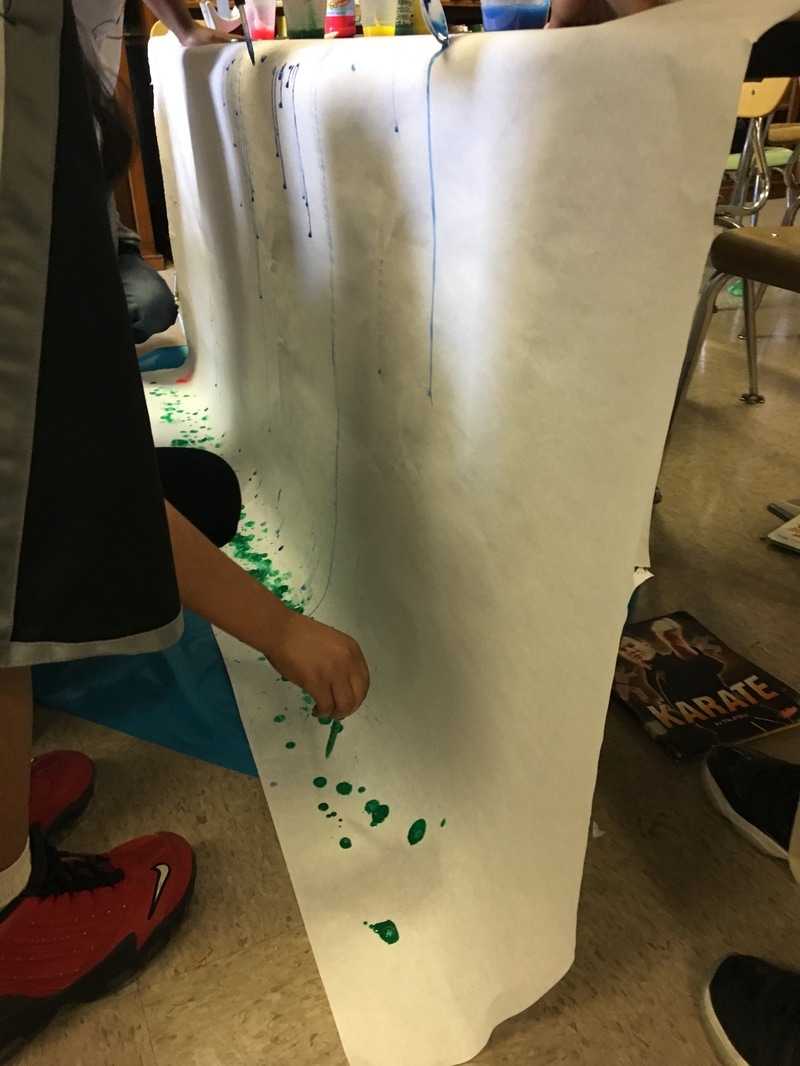
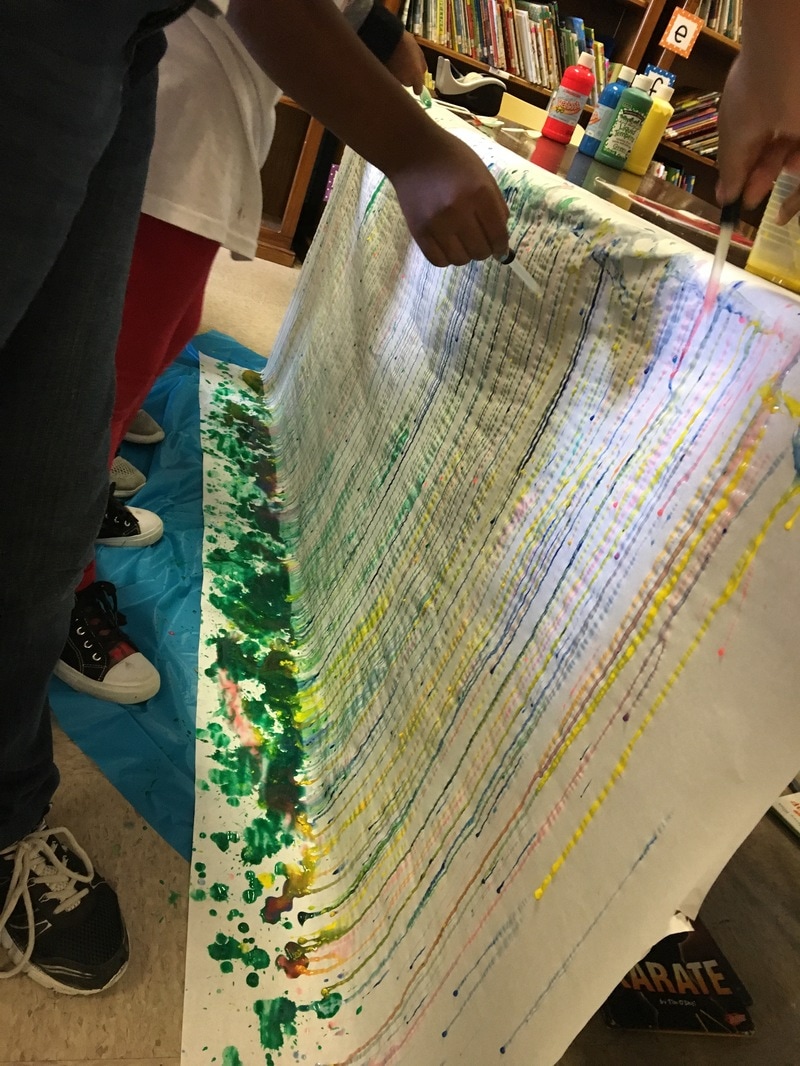
Coding Center - The 4th Graders also used the Ipads for coding. I gave them a couple of more challenging apps to choose from. Coding Apps: The Foos, Hopscotch, Box Island 5th Grade -We will be doing all 4 of 5th Grade's centers too! Gravity Painting - One of 5th Grade's science standards focuses on gravity. I found the idea for gravity painting and choose it for their art center. We attached a large piece of white butcher paper to the side of a table. I placed a plastic table cloth underneath the paper to catch all of the drips. They worked as a group to design what their picture was going to be. I provided several colors of watered down paint with water droppers and spoons. The rule was they could only drip the paint from the droppers or spoons from above. No rubbing, splattering, ect. They had to think through what their design was to decide where to begin dripping the paint. At the end of the unit, each group was allowed to add items to their background to finish creating their scene. They used construction paper, makers, paint, and crayons to complete their designs. Of course I forgot to take pictures of the final product but here are a few of the painting process. Coding Center - 5th Grade students used Chromebooks for their coding centers using the following websites: Studio.code.org - they started with Course 2 and worked their way through as many as they could Scratch.mit.edu crunchzilla.com/code-monster tynker.com/hour-of-code
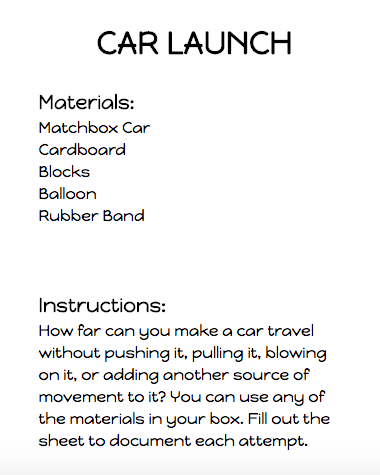
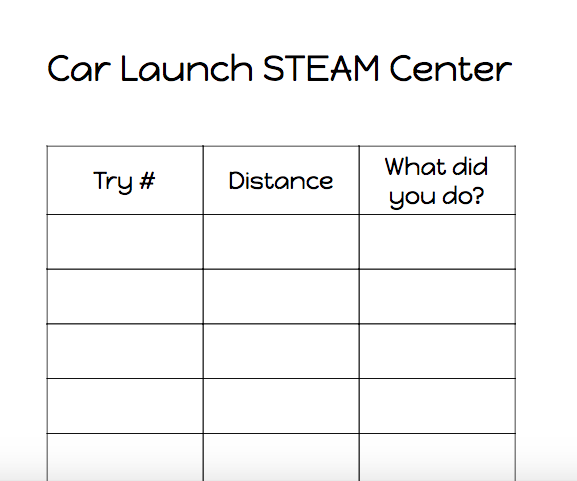
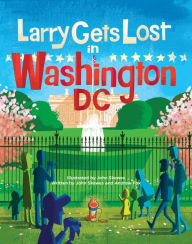
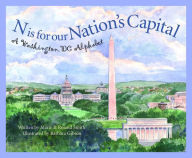
 I loved watching my students working together to create and solve problems while learning from each other and their failures. It was amazing to see their collaboration grow over the course of the 4 weeks and to hear how their conversations changed from "I can't." or "We did it wrong." to "What if we tried it this way?" and "If you do this part and I do that part we can get it." I think its safe to all of us are looking forward to continuing STEAM centers next year! ***UPDATE*** K-2 Centers Directions and Response Sheets can be found HERE! Links to Task Cards can be found in the post above! Links to the other grade level Virtual Field Trips! Kindergarten - How It's Made Virtual Field Trip 1st Grade - Little House on the Prairie Virtual Field Trip 3rd Grade - New York City Virtual Field Trip 4th Grade - American History Virtual Field Trip 5th Grade - National Parks Virtual Field Trip Last year, 2nd Grade did the Scholastic Plymouth Plantation Virtual Field Trip which is excellent. This year, I moved the Virtual Field Trip unit to the Spring Semester so that we would have more time to explore. Plymouth and Thanksgiving didn't really fit into February very well so I changed 2nd Grade's trip to Washington D.C. Week 1: IntroductionWe started our introduction to Washington DC by watching this video from PBS Kids: Wilson and Ditch Digging America: Washington DC. I read at least one of the following books with each class:
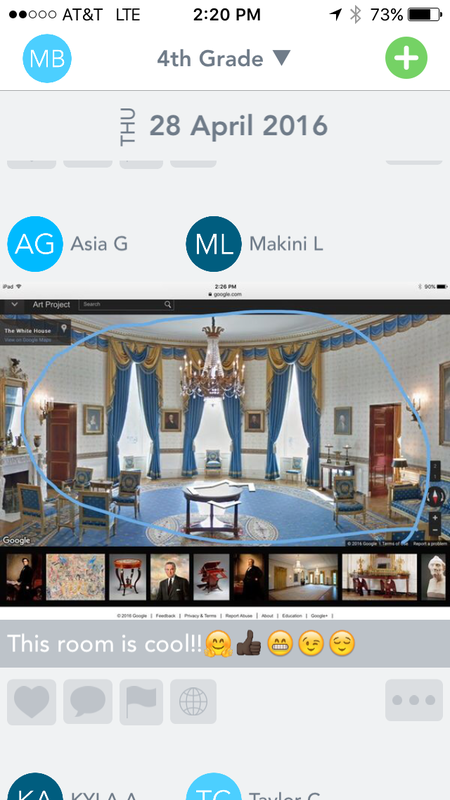
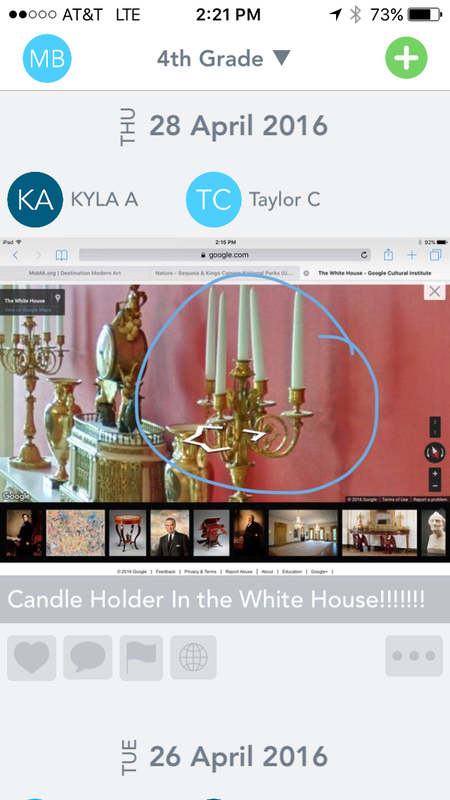
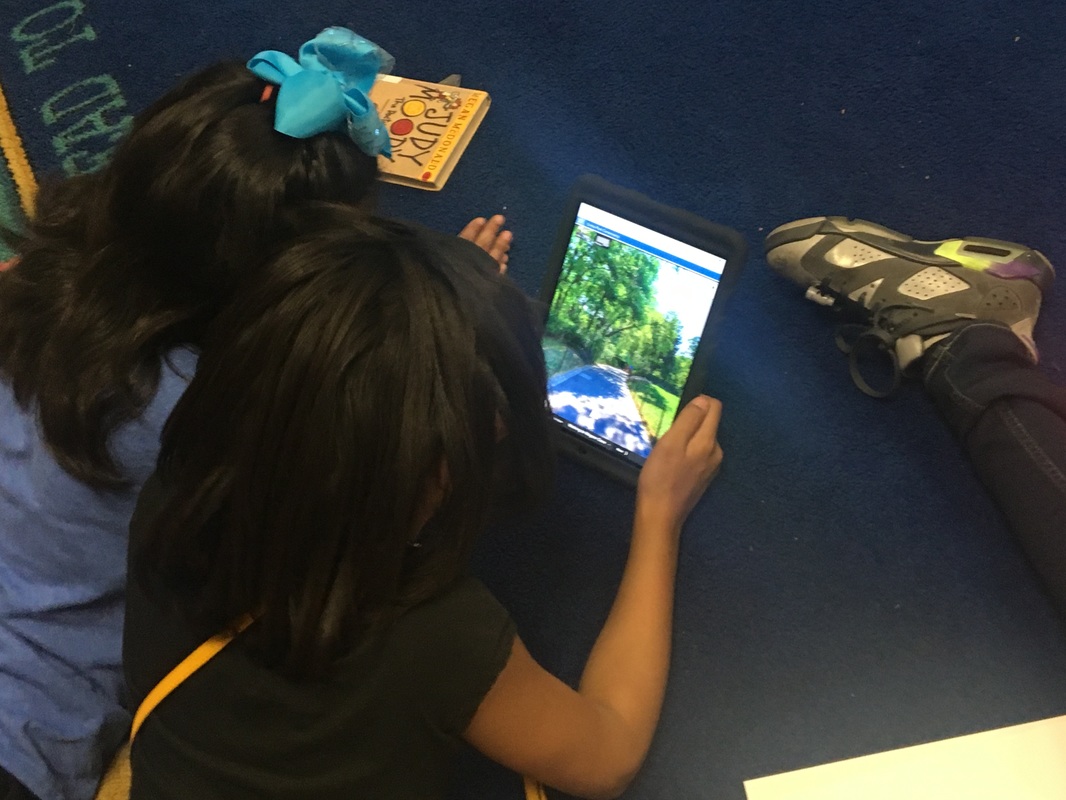
Weeks 2 and 3: Smithsonian MuseumsIn Weeks 2 and 3 we explored the Smithsonian Museums. We spent the most looking at: The National Air and Space Museum The National Museum of American History * They also have a great kids site that the kids are going to explore more in later week and in the computer lab. The National Museum of Natural History *They also have this great virtual tour! Weeks 4 and 5: The White HouseWe started this week by watching "Macey Goes to the White House" from the Ellen Show. The kids loved watching this little girl tour the White House and hearing all that she knows about Presidents! White House Virtual Tour Google Art White House Tour - This was definitely a crowd favorite! The kids loved being able to pretend to "walk" through the White House. We also used the Google Cardboard with this virtual tour (using the Google Street View app)! Weeks 6 and 7: The MonumentsDuring these two weeks, we explored various monuments and memorials around Washington DC. Animal Planet has a video introducing the Washington Monument and the Jefferson Memorial. National Mall Webcam - We did all webcams whole group. I wanted to be able to monitor what they were seeing so I didn't give them the link to this site. Lincoln Memorial Interactive Tour Jefferson Memorial Tour
Weeks 8 and 9: Other Washington DC SightsWe ended our Washington DC Virtual Field Trip with other important sites around DC that didn't really fit into any other category.
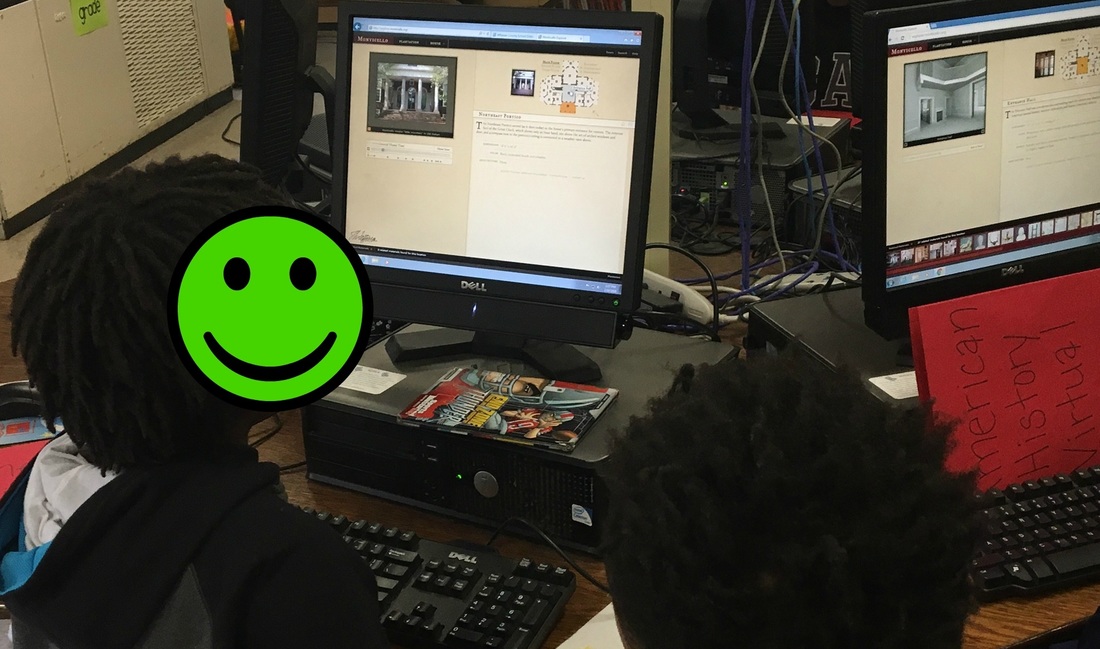
National Archives Library of Congress National Zoo National Mall Links to the other grade level Virtual Field Trips! Kindergarten - How It's Made Virtual Field Trip 1st Grade - Little House on the Prairie Virtual Field Trip 2nd Grade - Washington D.C. Virtual Field Trip 3rd Grade - New York City Virtual Field Trip 5th Grade - National Parks Virtual Field Trip The 4th and 5th Graders LOVED this Virtual Field Trip last year! It was the most engaged and on task those particular classes had been all year! This year just the 4th Graders participated in this virtual field trip. I didn't make many changes to this trip. I extended the unit to 9 weeks and added a couple of resources along the way. Here is the link to the 1st American History Virtual Field Trip post. Week 1: IntroductionThis week I introduced our 4th Grade Virtual Field Trip. We discussed what a "virtual field trip" is, how it was going to work, and the rules and procedures for the next 9 weeks. I showed each class their "itinerary" and introduced them to the folder that would hold all of their important "travel documents". I explained that I got the idea from how I travel each summer. A friend and I take a trip each summer to a place we have never been. Each summer, everything I need for that trip (hotel and flight reservations, museum tickets, baseball tickets, maps, ect.)goes into the folder so that I have everything I need in one place. Their folder will contain the student handouts with all of the resources for each stop along our trip! Week 2: Monticello This week we worked mostly in a whole group setting. We explored Monticello together to give them experience in how to locate information and navigate a virtual tour. 4th and 5th Grades will get to keep all of the handouts from the weeks prior to explore more if they choose so they will have the opportunity to explore Monticello more over the next 7 weeks. We watched the Monticello Introduction video on YouTube. We then explored two sections of the Monticello website: The House Builder and The Monticello Explorer. The Explorer requires Flash so the students were only able to access it via desktop computers.
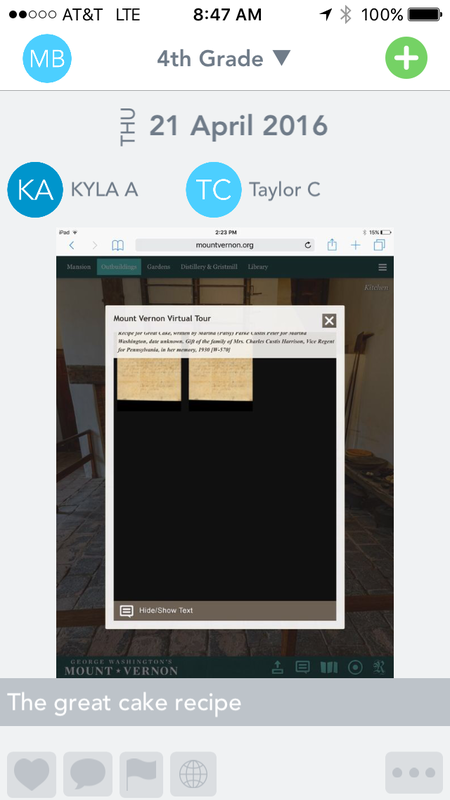
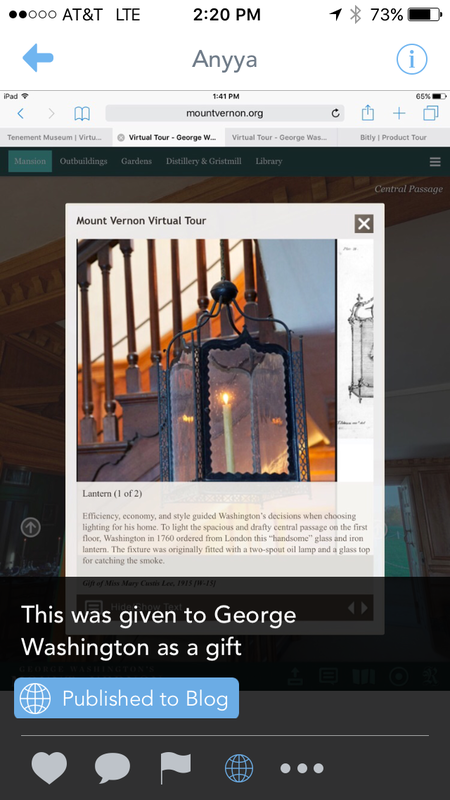
Weeks 3 and 4: Mount VernonThe Mount Vernon website has so many great resources for the kids to explore. The Mount Vernon Virtual Tour was a crowd favorite. The kids enjoyed being able to navigate through the house, clicking on photos, videos, and information about items in the house. The Mansion Room by Room Tour gives an overview of each floor of the house with information about each room on that floor. The Digital Encyclopedia was a resource that was continually revisited throughout the rest of the virtual field trip unit. Students were learning new information not only about George Washington, but also about the time period in which he lived. There were great discussions on slavery, farming, and the presidency. And just like last year, the most popular article was about George Washington's false teeth! :)
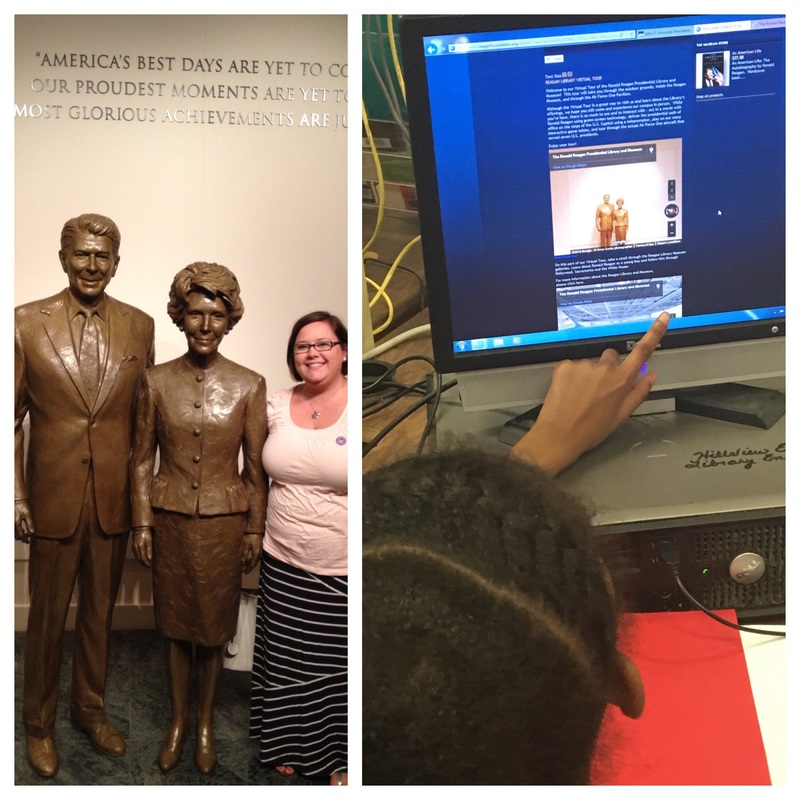
Weeks 5,6, and 7: Presidential Libraries and MuseumsFor this stop on our virtual field trip, we focused on 3 Presidential Libraries and Museums. We began by talking about the purpose of presidential libraries and museums. We then explored the museums of Presidents Ronald Reagan, John F. Kennedy, and George W. Bush. Ronald Reagan: We watched this video tour whole group because YouTube is blocked on the wifi for students. The Virtual Museum Tour was a big hit among the students. They enjoyed being able to navigate around the inside of the museum and look at the various exhibits. The Air Force One Pavilion was a huge hit.
Weeks 8 and 9: Presidential LandmarksThese last 2 weeks were we visited places I thought were important but didn't really fit into any other category on the itinerary. Ford's Theater - Virtual Tour White House - Google Tour White House - Interactive Tour NPS Mount Rushmore App Lincoln Memorial - Interactive Tour
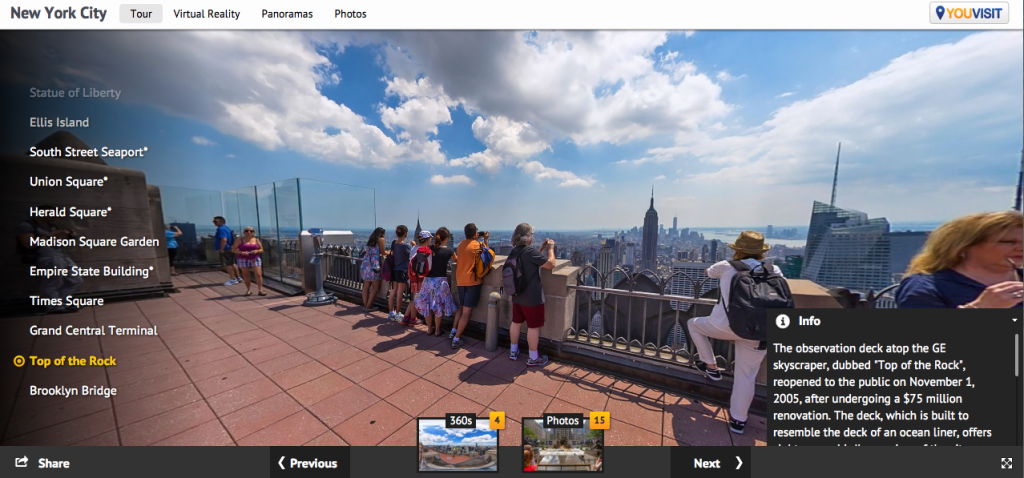
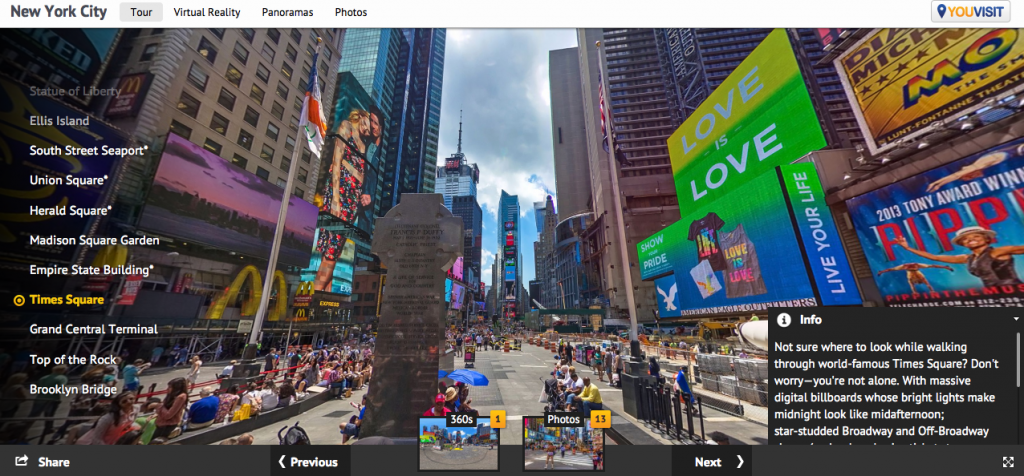
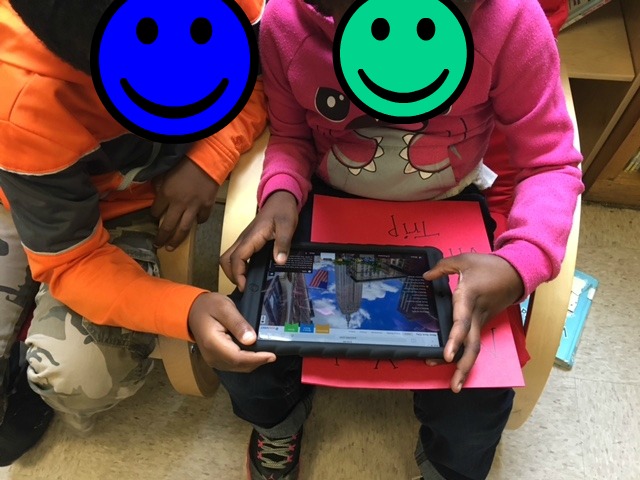
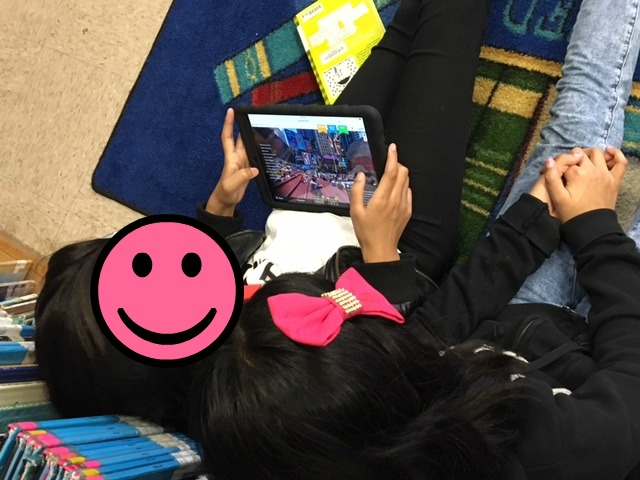
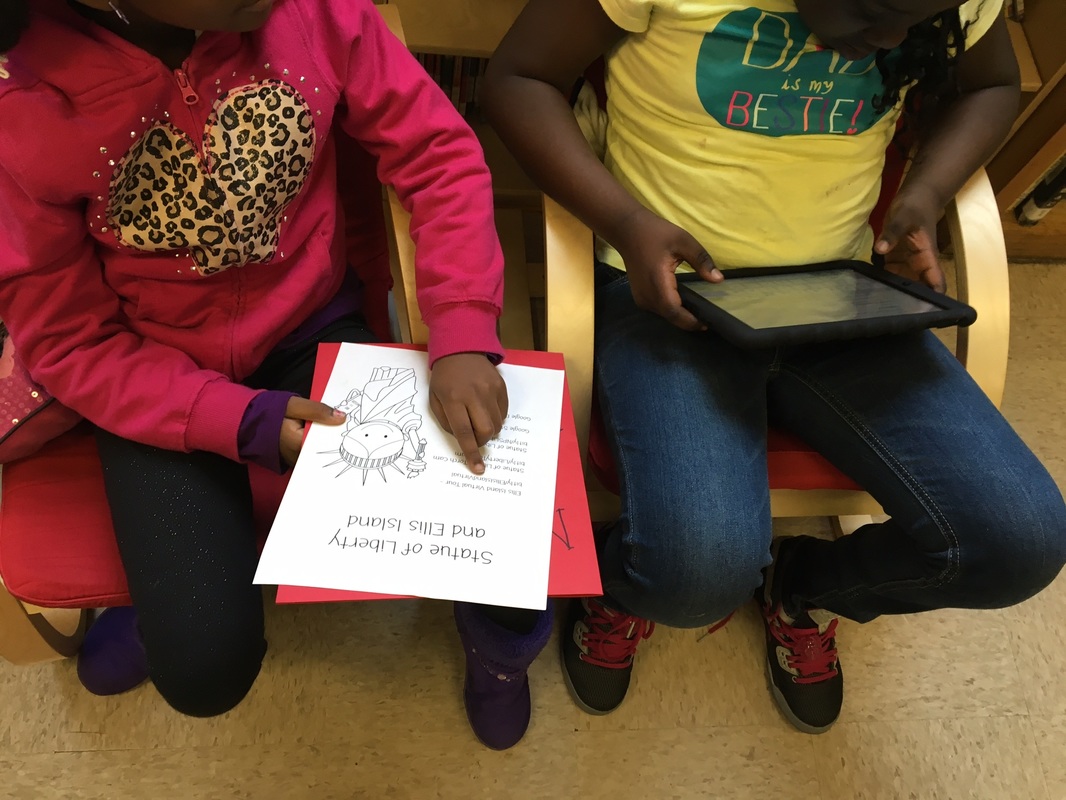
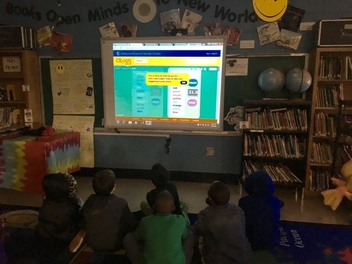
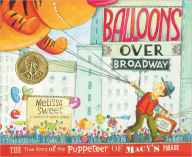
Links to the other grade level Virtual Field Trips! Kindergarten - How It's Made Virtual Field Trip 1st Grade - Little House on the Prairie Virtual Field Trip 2nd Grade - Washington D.C. Virtual Field Trip 4th Grade - American History Virtual Field Trip 5th Grade - National Parks Virtual Field Trip The 3rd Graders LOVED the New York City Virtual Field Trip last year and so did I! I made just a few changes this year. I extended the unit to 9 weeks this year. This gave us a little more time to explore the places we visited last year and add a couple of new places in this year. Here is the link to the original post: We Love New York Virtual Field Trip: Part 1 Week 1: Introduction Weeks 2 and 3: Welcome to New York!Week 2: This week I introduced the kids to New York City! NYC is one of my favorite places to visit so I was excited to share this with my students! We took a virtual tour of Times Square and looked at the live EarthCam views. I briefly introduced them to the audio tour of the Empire State Building. They can explore that more independently in Week 3. I also introduced them to the New York Philharmonic Kids Zone website. This was a crowd favorite last year! I also introduced them to one of favorite parts of NYC: Broadway! During book checkout, I let them watch a couple of YouTube videos of Disney Broadway shows. Week 3: The kids worked in pairs and groups of 3 to explore the sites introduced in Week 2.
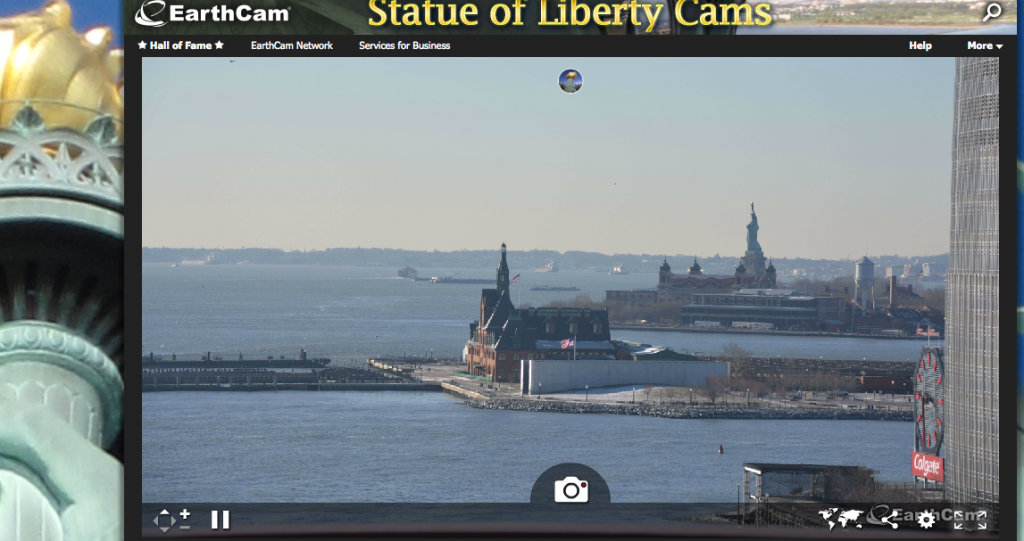
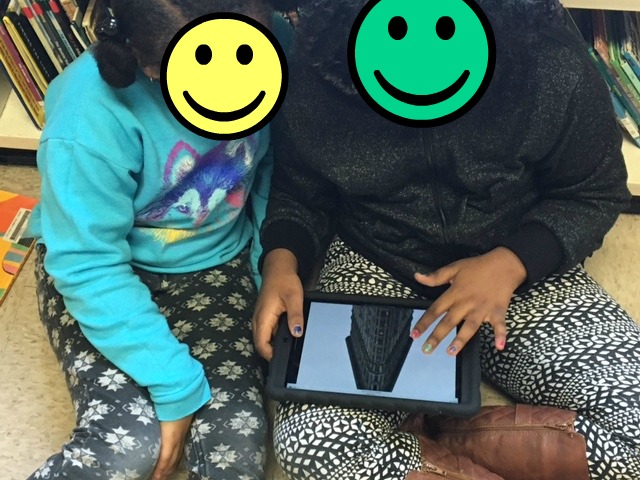
Weeks 4 and 5: Ellis Island and The Statue of Liberty Week 4: I introduced the students to the Statue of Liberty and Ellis Island. I knew they had some prior knowledge of the Statue of Liberty from their unit on American Symbols in their classrooms but knew they didn't have any knowledge of Ellis Island and its rich history. Scholastic has an excellent virtual tour of Ellis Island. It takes the students through the entire process an immigrant would have gone through to come to America. It has pictures and audio of first hand accounts of what it was like to entire the United States through Ellis Island. The National Parks Service - Statue of Liberty information and virtual tour Week 5: They worked in pairs to explore the Statue of Liberty and Ellis Island. *I removed the handout from Weeks 2 and 3 because I wanted them to focus on the new material.
Week 6 and 7: New York City MuseumsWeek 6: This stop on our tour was probably the most popular! They loved exploring the museums of New York. There are so many great museums to choose from but in Week 6 I introduced: The Metropolitan Museum of Art: METKids and Virtual Tour The Museum of Modern Art: Art Safari and Destination Modern Art The MOMA app is also great! The Museum of Natural History Week 7: Explore museums with a partner!
 Weeks 8 and 9: Central Park and The Macy's Thanksgiving Day Parade
Week 10I ended up extending this unit by one week. The kids were so interested and engaged, and I wanted to give them a little more time to explore what interested them. So I put all of the handouts back in the folder and they could explore with their partner anything we had talked about since Week 1.
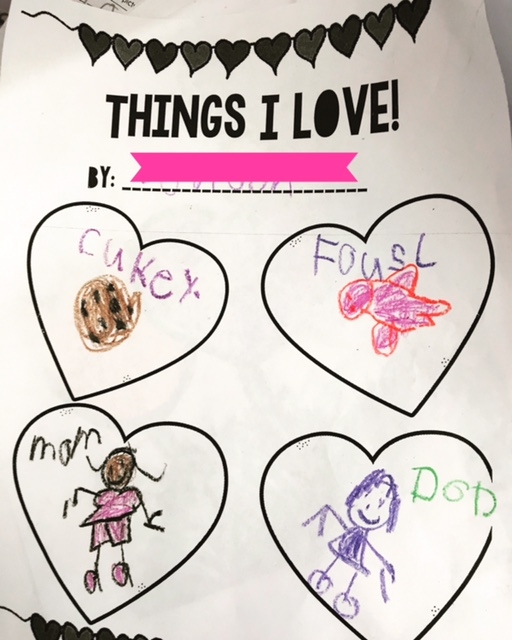
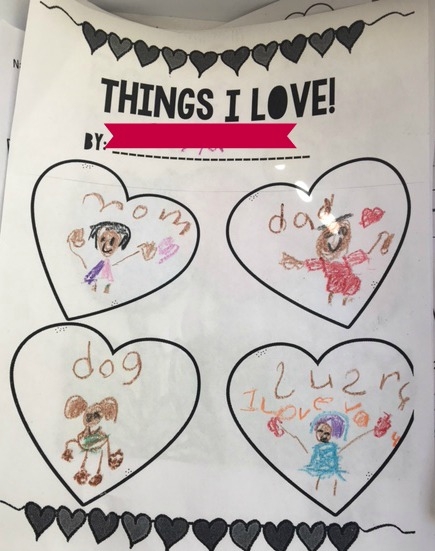
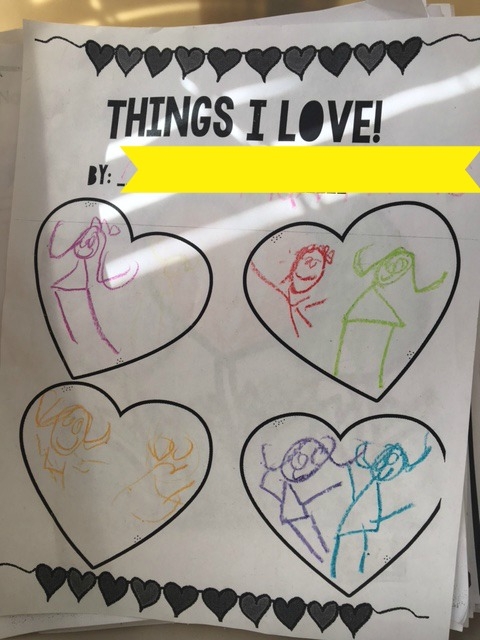
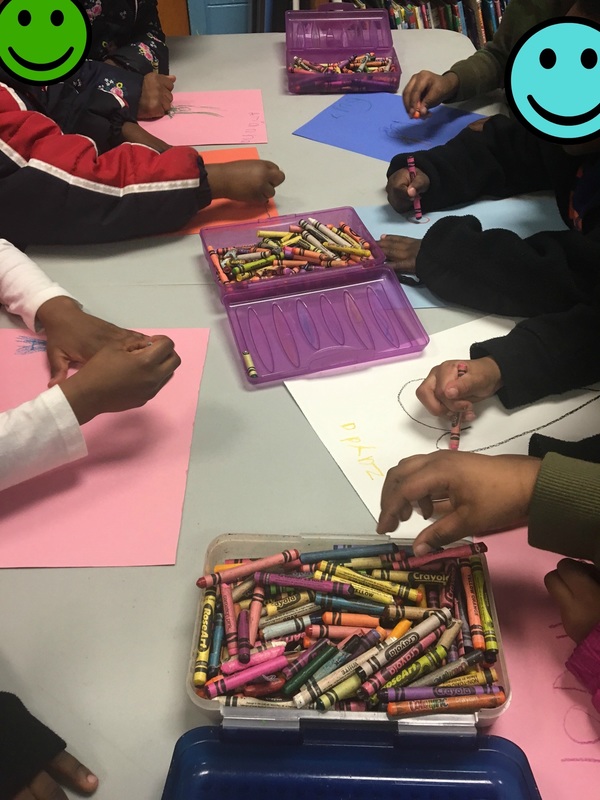
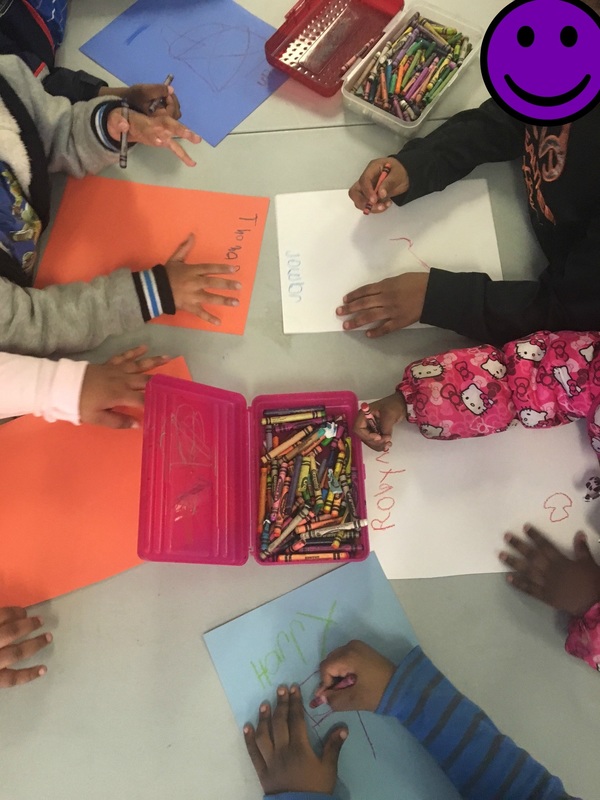
 Our Virtual Field Trips have become my favorite unit each year! This year I moved them to the Spring semester and extended them to 9 weeks...which meant I was planned from February all they way into May...HALLELUJAH! Here are links to the other grade level Virtual Field Trips! 1st Grade - Little House on the Prairie Virtual Field Trip 2nd Grade - Washington D.C. Virtual Field Trip 3rd Grade - New York City Virtual Field Trip 4th Grade - American History Virtual Field Trip 5th Grade - National Parks Virtual Field Trip In kindergarten, we visited 9 different factories and learned about how things are made. We "visited" each factory whole group by watching a video tour and followed the tour with an activity using the product we learned about during our tour. Week 1: How It's Made: ChocolateThis week we learned about how chocolate is made! We first watched this National Geographic "Making Stuff" video. Then, we took the Tootsie Roll Factory Tour on their website. We ended with watching a short video from Mars about how M&Ms are made! Of course after we learned about how M&Ms are made....we had to taste them! That was our favorite part!! One sweet kindergarten stopped on her way out and said, "Ms. B....this was so much fun! Next week, can we learn about how our bodies are made?!?" Not a chance, darlin, NOT. A. CHANCE! Week 2: How It's Made: CrayonsThis week we learned about how crayons are made! We watched the Mr. Rogers video available on PBS Kids. We also explored the Crayola website. Week 2 happened to fall on the week leading up to Valentine's Day. The kids used crayons to draw 4 things that they love.
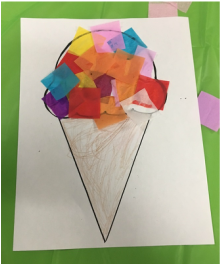
Week 3: How It's Made: Ice Cream
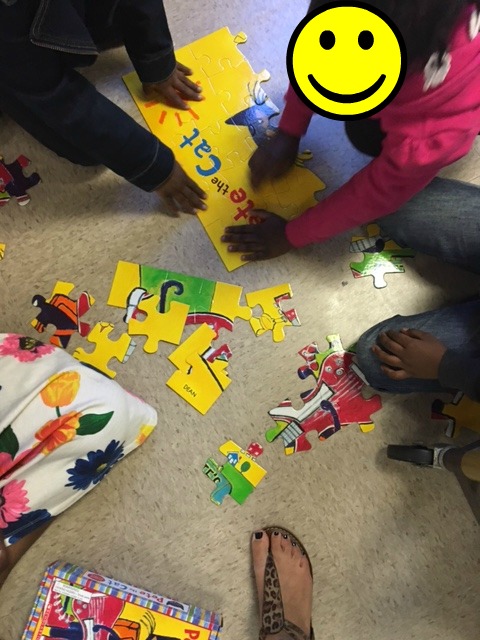
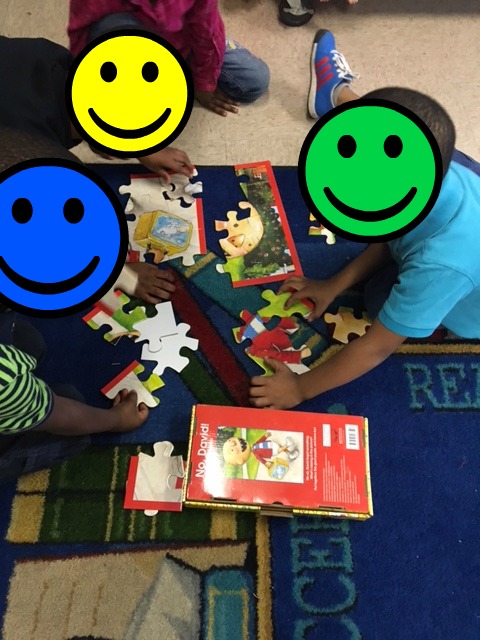
Week 4: How It's Made: Bouncy BallsThis week we learned about how playground balls are made. We watched the Mr. Roger's video on PBSkids.org. Then, we tried a little experiment. I found a "recipe" for making bouncy balls on Pinterest. I had never tried it before my first kindergarten class of the week...probably not my best move but it ended up being a success! It was messy but FUN! How To Make A Bouncy Ball Ingredients: 1/2 cup of warm water 1 tbsp Borax 1 tbsp Cornstarch 2 tbsp White Liquid Glue Food Coloring 2 plastic cups Instructions: 1. In Cup #1, mix warm water and Borax 2. In Cup #2, mix the glue, cornstarch, and food coloring 3. Pour the glue mixture in Cup #2 into Cup #1 4. Count to 20 5. Remove hardened glue mixture from the cup with a spoon ( if glue mixture is still sticky dip it back in the water) 6. Roll the mixture in your hands to make a ball. (It can take a few minutes to firm up.) 7. Have fun! 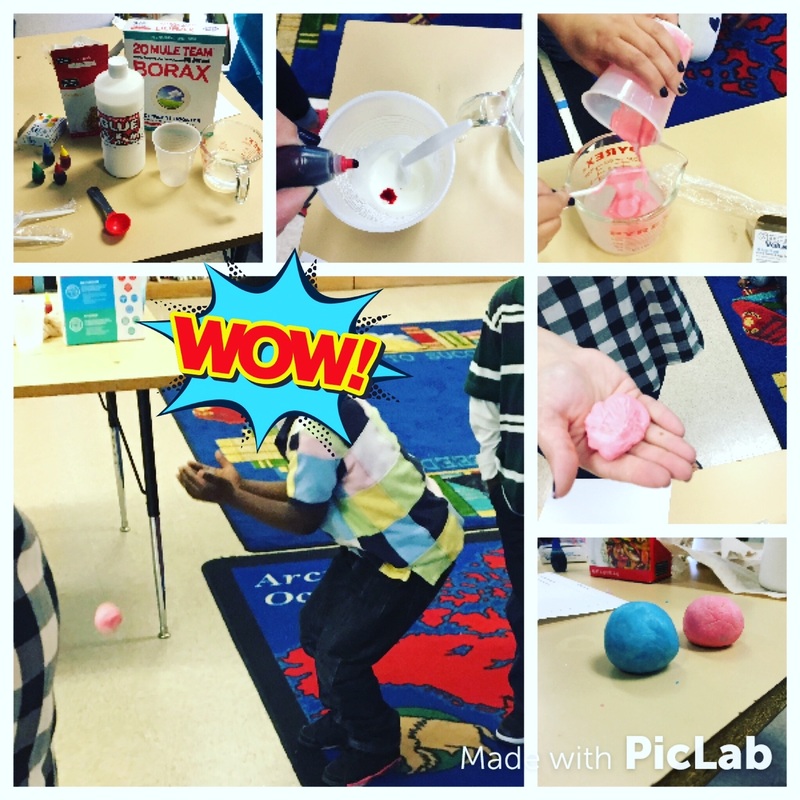 Week 5: How It's Made: PuzzlesThis week we learned about how puzzles are made! We watched the "National Geographic Making Stuff:Puzzles" video. Then, we spent time working puzzles featuring books we've read this year!
Week 6: How It's Made: MacaroniThis week we learned about how Macaroni is made! We watched the Mr. Roger's video and then made macaroni necklaces. Once again, there were disappointed friends that we weren't eating Mac and Cheese in the library but they loved making their "springtime necklaces"!
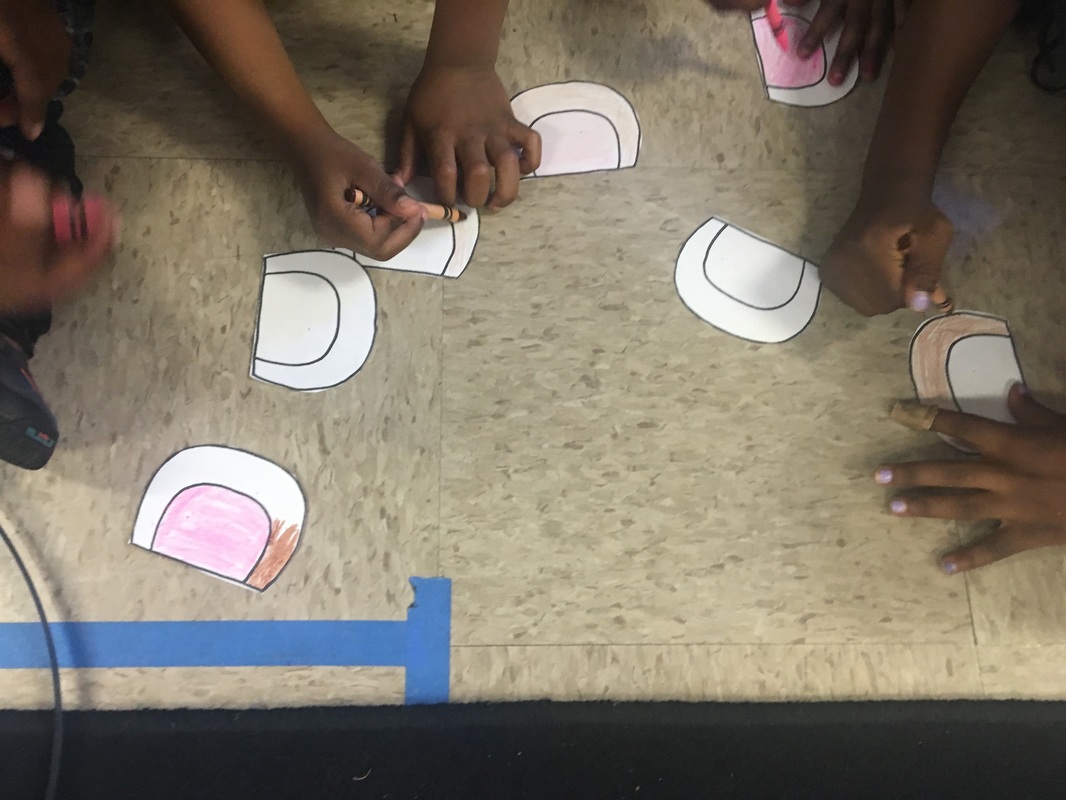
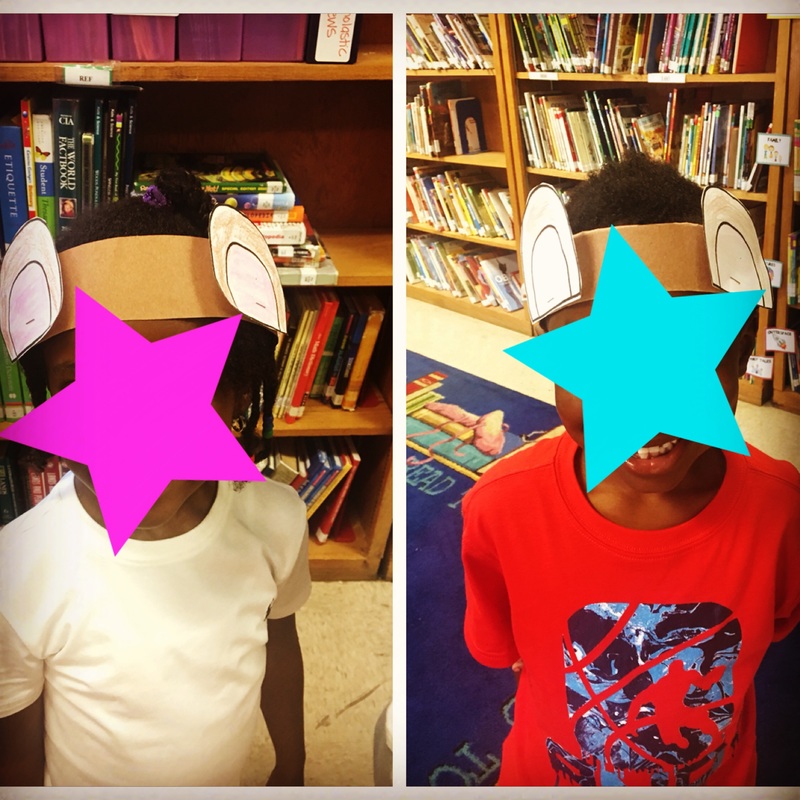
Week 7: How It's Made: Teddy BearThis week we learned about how Teddy Bears are made. We watched the "National Geographic Making Stuff" video. We then made these super cute teddy bear ears headbands! While they were working I read the book, Corduroy by Don Freeman.
Week 8: How It's Made: Construction PaperThis week we watched the Mr. Roger's video about how construction paper is made! And what do you after you learn how its made? You color on it! :) Our school doesn't have an art teacher so I try to incorporate opportunities for our kids to be creative as often as I can. Most of the time, there is a specific art project I have planned. This time, I let them color/draw/scribble whatever they wanted....and they loved it!
Week 9: How It's Made: Toy TrucksI can't believe we have finished our "How It's Made Virtual Field Trip"! This has been such a fun unit with my sweet kindergartners! We finished the unit with how toy trucks are made. We watched the "National Geographic: Making Stuff" video. Then we made a "Build A Truck" craft...thanks again Pinterest!
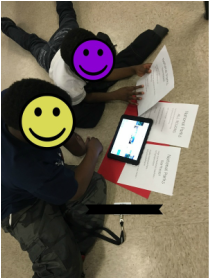
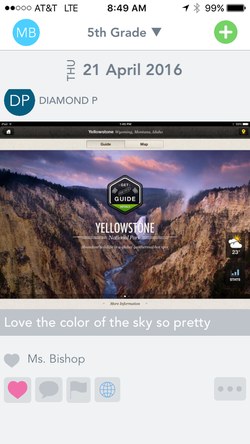
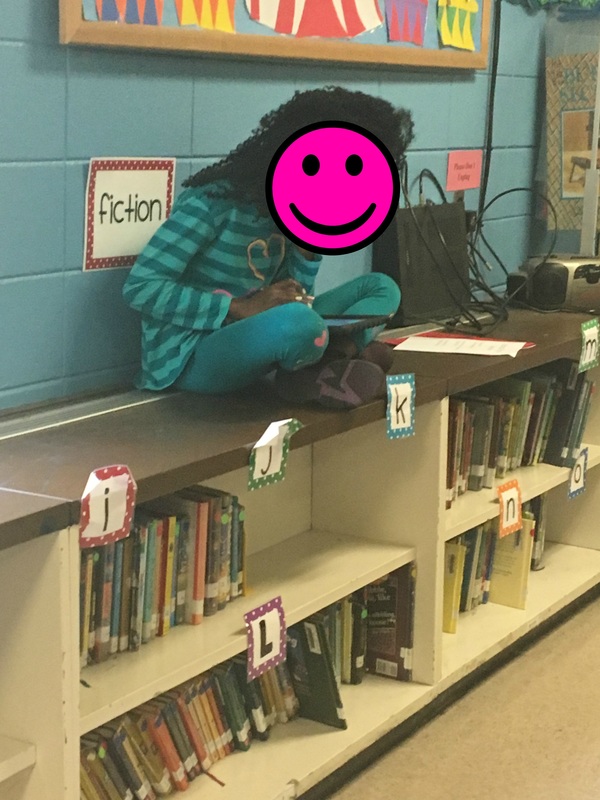
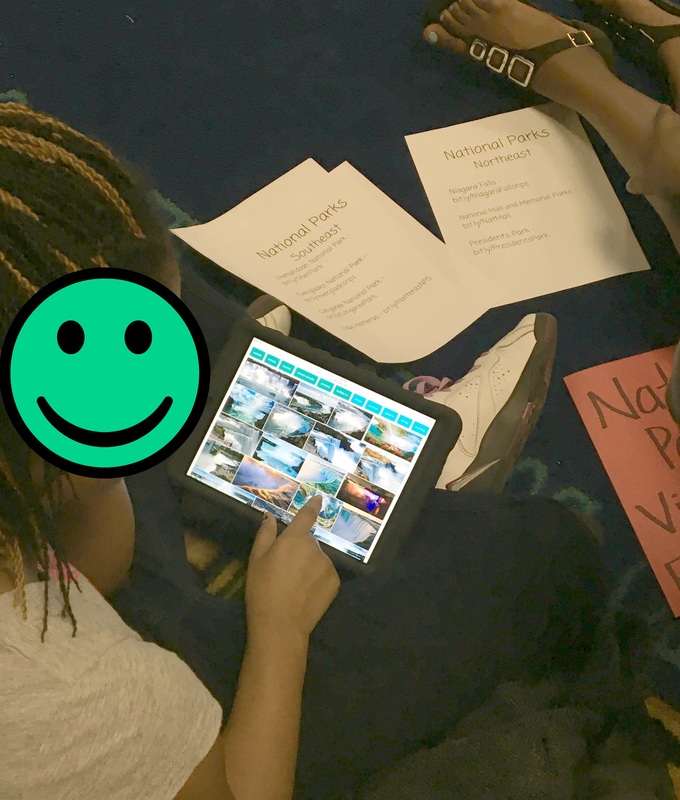
 Links to the other grade level Virtual Field Trips! Kindergarten - How It's Made Virtual Field Trip 1st Grade - Little House on the Prairie Virtual Field Trip 2nd Grade - Washington D.C. Virtual Field Trip 3rd Grade - New York City Virtual Field Trip 4th Grade - American History Virtual Field Trip Last year, 4th and 5th Grade both did the American History Virtual Field Trip. So, this year's 5th graders needed something new. Week 1: Introduction This week I introduced our 5th Grade Virtual Field Trip. We discussed what a "virtual field trip" is, how it was going to work, and the rules and procedures for the next 9 weeks. I showed each class their "itinerary" and introduced them to the folder that would hold all of their important "travel documents". I explained that I got the idea from how I travel each summer. A friend and I take a trip each summer to a place we have never been. Each summer, everything I need for that trip (hotel and flight reservations, museum tickets, baseball tickets, maps, ect.)goes into the folder so that I have everything I need in one place. Their folder will contain the student handouts with all of the resources for each stop along our trip! 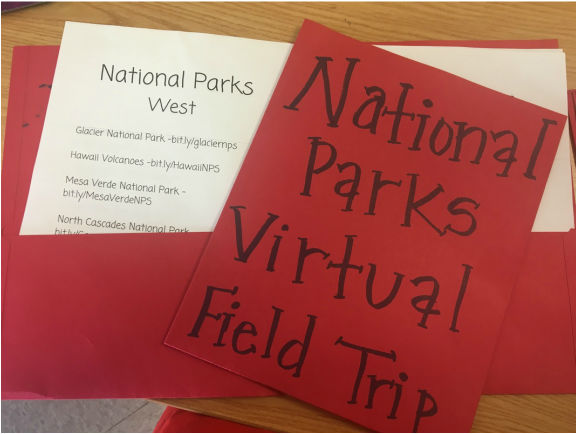 National Parks Virtual Field Trip Folder Weeks 2 and 3: National Parks of the NortheastWe began things a little different with 5th Grade. They had participated in the American History Virtual Field Trip last year and understood how it all worked. We jumped right in on Week 2 with independent exploration. They picked a partner, picked up their folder and IPad, and got to work. These 2 weeks they learned about the national parks in the Northeast Region of the United States. They could explore: Cape Cod National Seashore Acadia National Park National Parks of New York Harbor Statue of Liberty Niagara Falls National Mall and Memorial Parks President's Park (The White House)
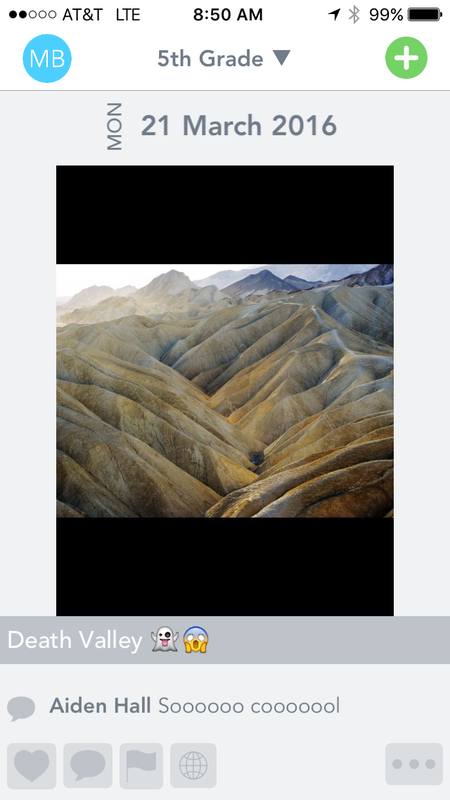
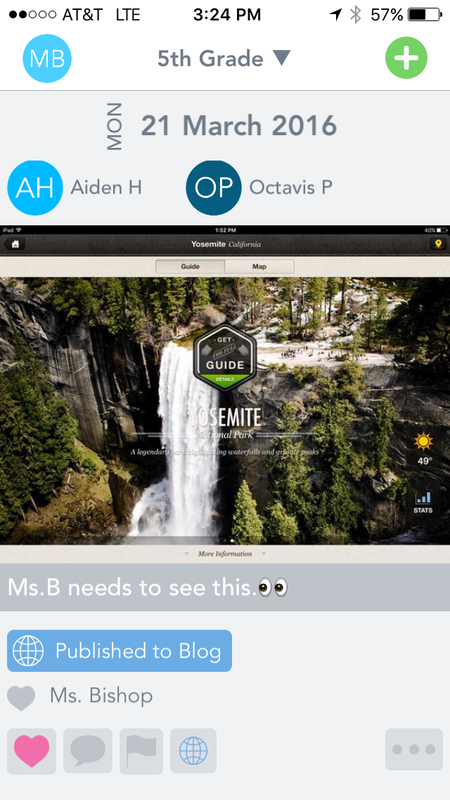
I also let them experiment along with me using the app Seesaw. In the past, I have used KidBlog as another way for students to share their learning with me/their teacher and their classmates. During Week 2 I had a teacher ask me to help her students with creating a blog for their research projects. When I went to set up their class blog on KidBlog, we realized it is no longer free. A paid subscription is not an option for us, so I began looking for alternative options. I came across Seesaw and so far we love it! The kids are able to post interesting facts about what they are learning, screenshots of what they found, and comment back and forth to each other. The kids picked it up very quickly and have enjoyed having a social aspect of this Virtual Field Trip. There are so many possibilities for using this app in the classroom. I'm hoping some of our teachers will give it a try as well.
Weeks 4 and 5: National Parks of the SoutheastIn week 4, I added National Parks of the Southeast to their folders. In 3rd and 4th Grade, I removed the previous handouts so that the could focus on the new destinations. I let the 5th graders add to their previous handouts because some groups were really interested in certain parks or had not explored all that they had wanted to in the previous region. In the Southeast we focused on: Little River Canyon Great Smokey Mountains National Park Gulf Islands National Seashore Mammoth Cave National Park Shenandoah National Park Everglades National Park Congaree National Park Cape Hatteras
Weeks 6 and 7: National Parks of the WestWeek 6 we added handouts for National Parks of the West. We focused on: Glacier National Park Hawaii Volcanoes Mesa Verde National Park North Cascades National Park Olympic National Park Redwood National Park Rocky Mountain National Park Seqouia and King's Canyon Yellowstone National Park Yosemite National Park City of Rocks National Reserve * For the first half of the virtual field trips unit, I asked them to stick to the resources I provided for them in their folders. Beginning in week 6, I allowed them to do a little deeper searching on their own using Kiddle (Google's kid safe search engine). I am visiting Yosemite National Park this summer so the kids helped plan my trip! They loved being my travel agents, and I can't wait to check out some of the places they found! :)
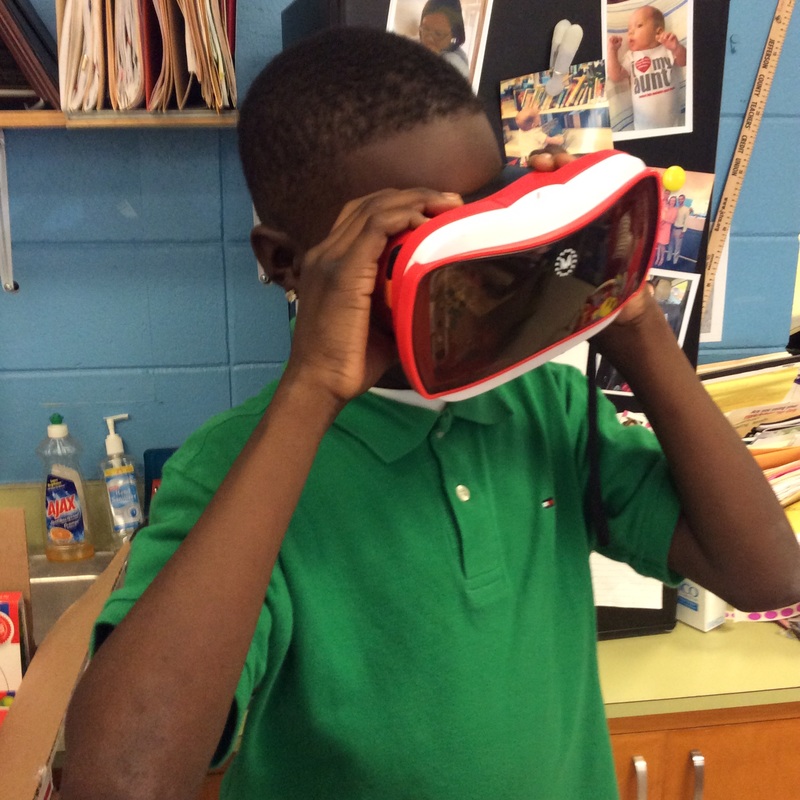
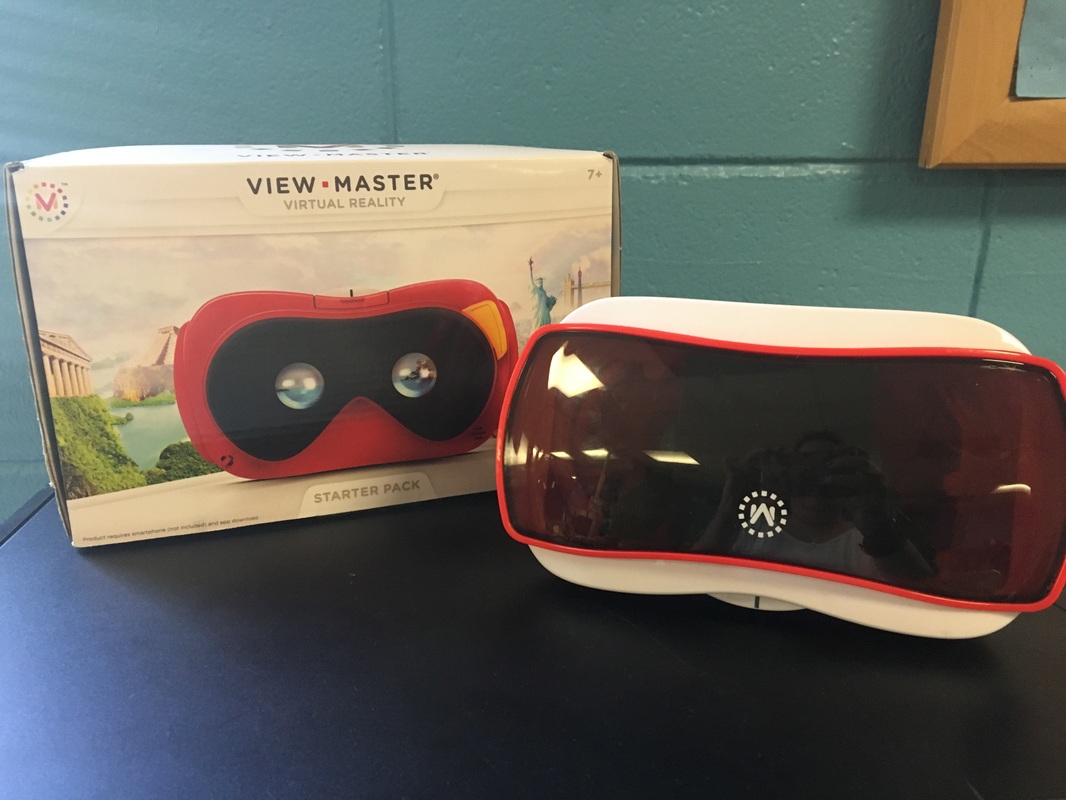
Weeks 8 and 9: National Parks of the Southwest and MidwestFor the final 2 weeks of the virtual field trip we added National Parks of the Midwest and Southwest. Midwest: Tallgrass Prairie National Preserve Badlands National Park Mount Rushmore (Mount Rushmore Ipad App) Theodore Roosevelt National Park Southwest: Petrified Forest National Park Carlsbad Caverns Big Bend National Park Aztec Ruins National Monument White Sands Grand Canyon National Park Saguaro National Park * We used Google Cardboard throughout the Virtual Field Trip. I purchased one for $6 on Amazon and assembled it myself...which was quite an experience since it came with ZERO instructions. It made me a little (ok a lot) nervous to hand them my phone protected only by a piece of cardboard. I ended up buying the View-Master VR by Mattel. It has definitely been worth the money!
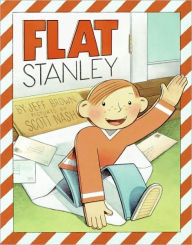
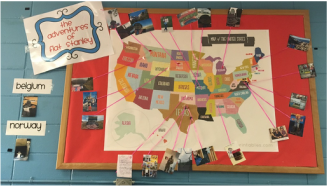
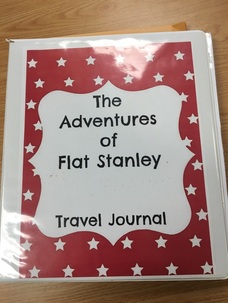
One of my goals as I began this 2015-2016 school year was to begin incorporating more content standards in my library lessons. Last year, I was able to meet Social Studies content standards fairly easily in my library lessons. This year, I wanted to try to incorporate standards from all of the content areas. Math and Science are the hardest for me to work into my library lessons. When I taught Kindergarten and 1st Grade, Flat Stanley was one of my favorite activities to do with my kids! I decided to try it this year on a bigger scale with my 2nd and 3rd Graders in the library to help meet some Social Studies and Math standards.
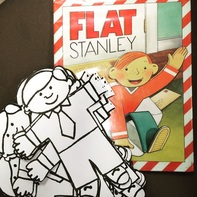
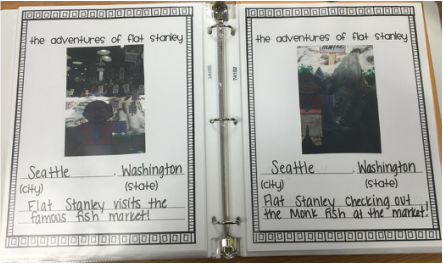
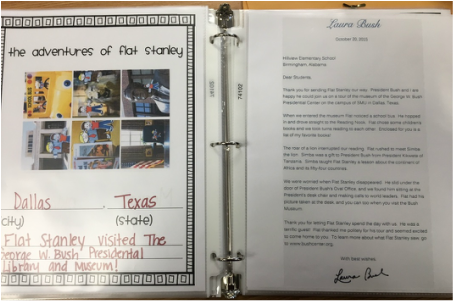
I had several students color an extra Flat Stanley. I sent a few to my friends and family that live out of town. I also let each class choose one person or place they would like Flat Stanley to visit. We sent the "class" Flat Stanleys to Mickey Mouse and Cinderella at Disney World/DisneyLand, the White House, Mrs. Laura Bush at the George W. Bush Presidential Library, the Today Show in New York City, and Coach Nick Saban at the University of Alabama. We received replies back from everyone except the Today Show and Cinderella! Below is a slideshow of many of the pictures we received!
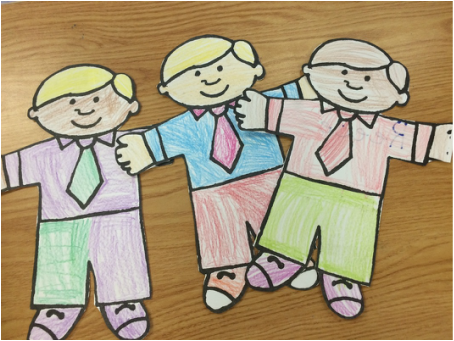
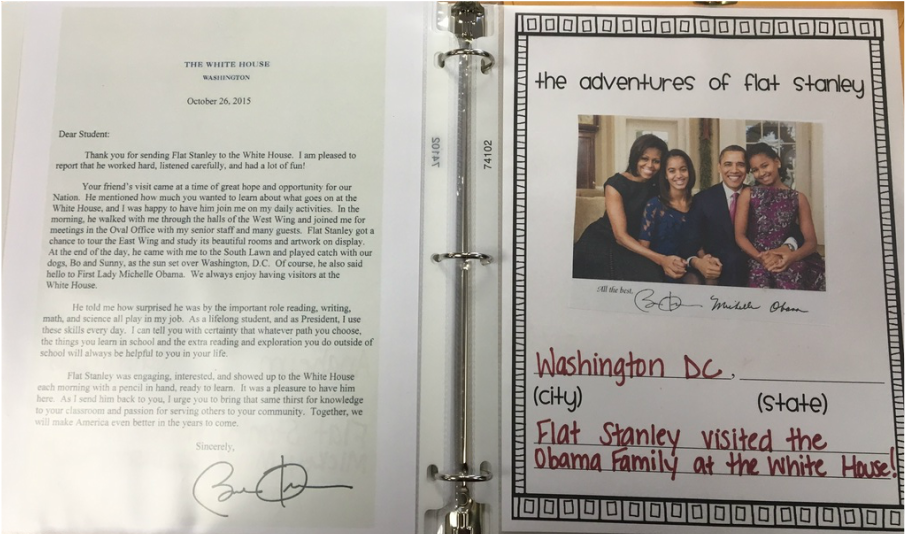 The kids have really loved the project! We have been able to revisit it briefly in library or on our morning show whenever we receive new pictures and letters. The kids have also really enjoyed continuing Flat Stanley's adventures by reading the Flat Stanley chapter books! I can't get them back on the shelf before they are checked out again. So not only were we able to meet some content area standards with this project, it also got them reading for enjoyment! I call that a success! 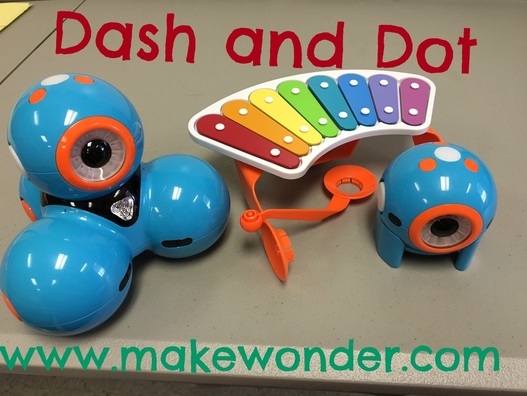 I had been eyeing the Dash and Dot Robots by Wonder Workshop for quite a while but had not been able to purchase any for our school yet. One of our district Tech Coaches so graciously allowed us to borrow her set so that we could compete in the Wonder League's Robotic Competition. I chose a team of 5 students based on recommendations from our Instructional Coaches. The kids were so excited when I told them why they had been called to the library! One of the boys said, "Ms. Bishop, I am so excited you picked me! This is the first step for me to become an engineer!" Y'all, I could have cried right there!
Dash and Dot have 5 apps available through the Itunes App Store. There is an app for every age group! My kindergartners picked up Go and Xylo very quickly and enjoyed "driving" Dash and programming him to play music on the attachable xylophone! The older kids picked up Blockly and Path pretty quickly as well. Blockly is a great app for beginning lessons on coding. The kids can see how the codes fit together and build on each other to program Dash's movements, sounds, and appearance. I would love to have had more time to work with Blockly! 2nd Graders figuring out the Go App! Name that Tune with the Xylo App! The Robotics Team used the Wonder app for participating in the competition. It is by far the more complicated of the available apps but the team learned quickly using the training exercises provided in the app. They caught on much faster than I did! And if I'm being honest, I still don't completely have it all figured out. But the good news is that the competition was for the kids and not me! :) Unfortunately we got started in the competition late, the Book Fair was set up on top of our grid (OOPS) and we had to return Dash and Dot before we completed all of the missions. I hate that the kids didn't get to finish what they started but they learned so much in what we did get to accomplish! Not only did they learn about programming but they also had to apply many different math concepts to each scenario we worked through. They had to measure, add, subtract, and multiply in order to complete the missions. 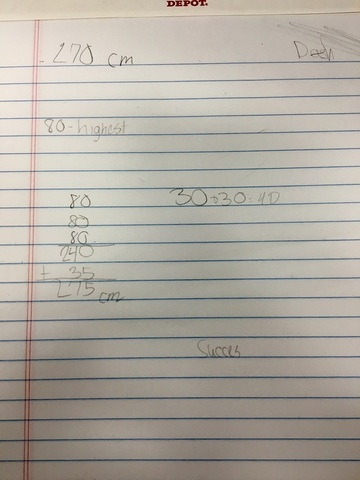 They also learned to work together! This was huge. The first few days there was some pushing and pulling over who was "in charge" and coming to me when they couldn't figure out how to do something within the app. After a few days of me guiding them through working as a team and with the app they began to figure out the strength of each team member and work together to get to the finish line. Working on the first mission: I see so many possibilities for how Dash and Dot can be used throughout the school with different grade levels and across content areas. A second grade teacher and I have already discussed some super fun ideas on using them with her class! I am hoping to find some funding through grants this year so that I can purchase a couple sets of Dash and Dot and all of their fun accessories for our school!
|
AuthorI am an elementary educator in Birmingham, AL. I have previously taught preschool, kindergarten, and first grade. I now have the BEST job as an elementary school librarian or "The Library Lady" as I'm called by the kindergartners! Archives
March 2017
Categories
All
|


 RSS Feed
